Candle Adhesion Problems
Jan 08 , 2024
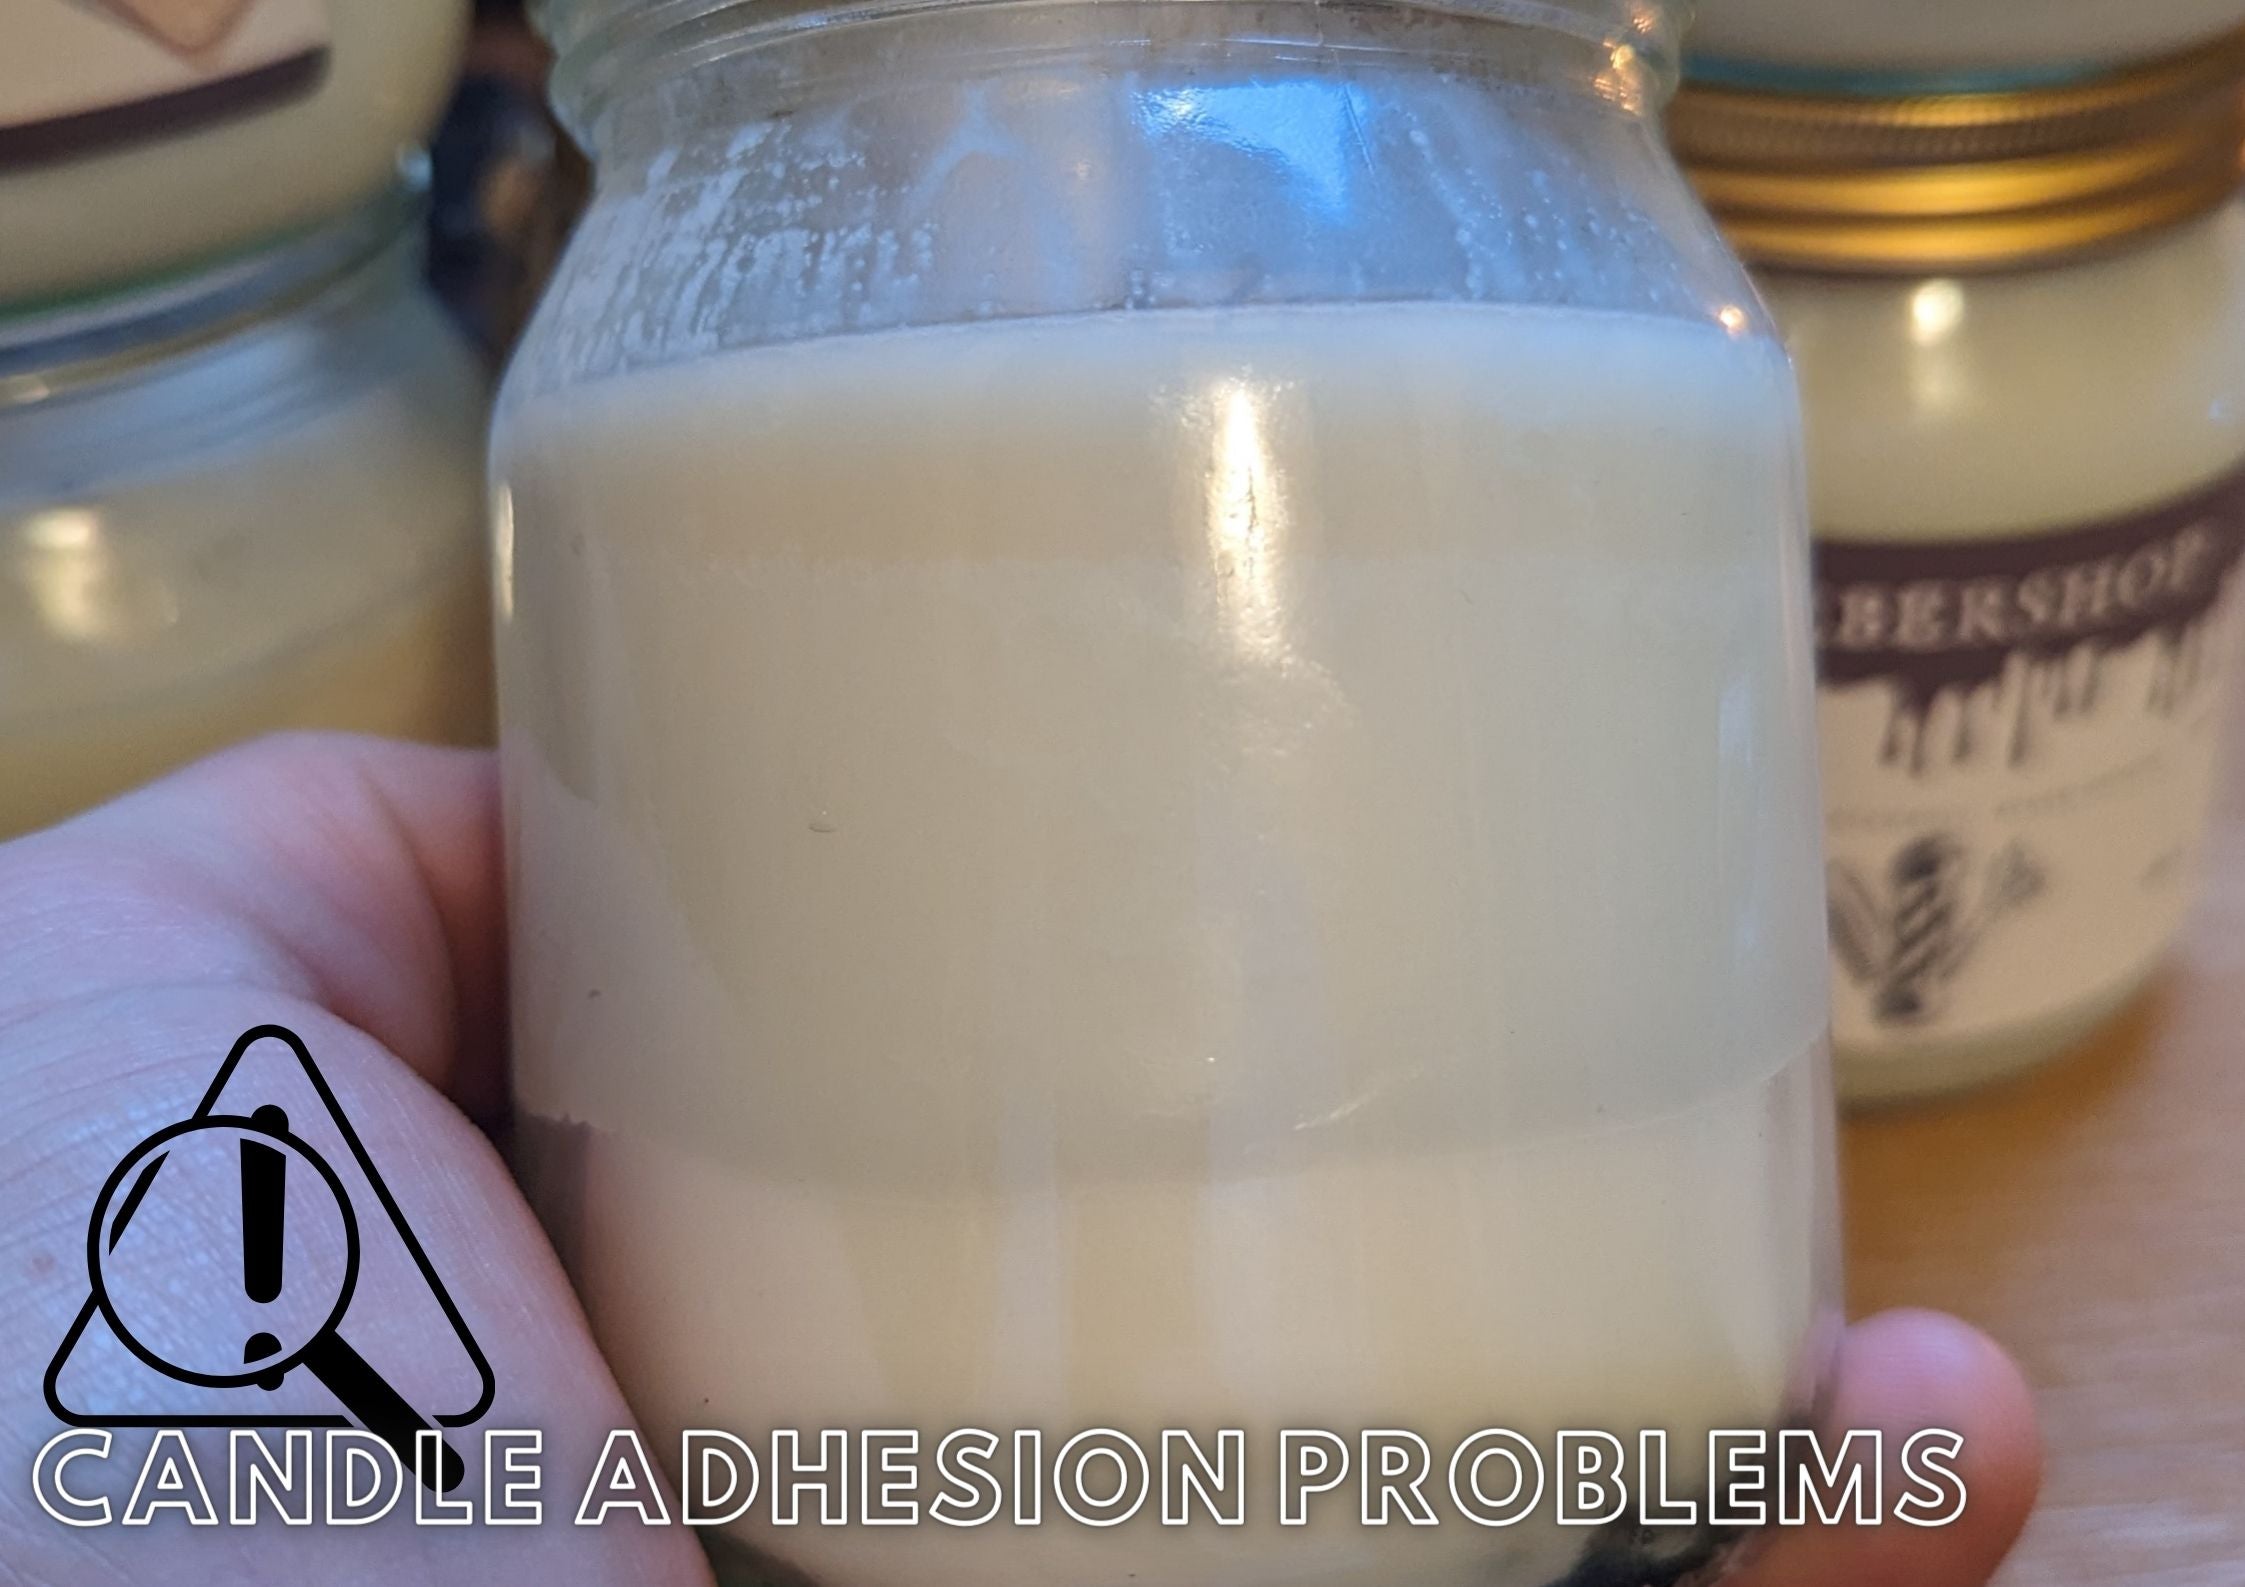
Candles that won't stick to the glass are a real headache for makers. Frosting is one pesky problem you might see in your soy wax candles. Our guide will show you how to beat these sticky situations and make smooth, perfect candles every time.
Ready? Let's fix those candles!
Key Takeaways - How to combat candle adhesion issues
- To combat candle adhesion problems such as wet spots and rough tops, warm your containers prior to pouring wax and pour at a cooler temperature for smoother results.
- Ensure the wick is centred and secured firmly in place before adding wax to avoid dipping wicks and uneven burns, maintaining safety and quality in each candle.
- Cracks appearing in candles are often due to uneven cooling; thus, carefully monitor the pouring temperature and consider using denser wax blends if cracking persists.
- Different factors like room temperature during production, the type of wax used, container material, and fragrance oils have significant impacts on how well candles adhere to their containers.
- For optimal candle adhesion with minimal issues, it's essential to adjust your approach based on specific elements such as the consistency of work area temperature, choice of waxes tailored for better performance with various fragrances or containers.
Understanding Candle Adhesion Problems

Candle adhesion problems can manifest as wet spots, rough tops, dipping wicks, and cracking. These issues can affect the overall appearance and quality of your candles.
Wet spots
Wet spots can be a pesky issue for candle makers, often showing up as little patches where the wax doesn't stick to the glass. These pesky marks happen because of solid crystals forming as the wax cools down.
But there's good news! They're purely cosmetic and won’t mess with your candle's scent throw or burn quality. To dodge these unsightly blemishes, try warming your glass containers before pouring in the melted wax.
Pouring slowly also helps prevent wet spots, and giving candles enough space to cool down evenly makes a big difference. Next time you're crafting that perfect vanilla-scented atmosphere with coconut wax, remember these simple fixes can help achieve flawless adhesion between candle wax and container.
Now let’s look at those rough tops—another common hurdle in the world of candle-making.
Rough tops
Rough tops on your soy wax candles can be quite frustrating. They often show up as pitted surfaces after the candle has been burned. Candle makers know this issue all too well, especially when striving for that smooth finish in their creations.
To combat these bumpy imperfections, try pouring your wax at a cooler temperature. This simple change can make a significant difference in how the top of the candle sets and cools down.
Consider adjusting your wax formula if you're still spotting roughness. Blending natural soy with paraffin waxes may offer a solution, specifically using products like IGI 6006 designed to set more evenly for a polished look.
Experiment by adding more soy or varying your mix to soften the composition until you strike the right balance for perfect glass adhesion and an aesthetically pleasing melt pool every time you light your scented candles.
Dipping wick
Having a wick that dips can lead to some serious issues in your candle making. If it's not centred properly, you may face the problem of uneven burning, which is not only unsightly but could also make the glass container dangerously hot.
To avoid this, always secure your wick firmly at the bottom of the container before pouring in your wax.
Keep an eye on the placement as you pour; sometimes the liquid wax can cause a wick that seemed straight to lean over. This mishap will distort your burn and might lead to wasted fragrance oil when one side burns faster than the other.
Use tools like wick holders or chopsticks laid across the opening of your pillar candles' containers to help keep everything aligned until the wax sets solid.
Cracking
Cracks in your candles can be quite a surprise, emerging as the wax cools and contracts. They often look like small fissures or large splits running through the candle. These imperfections happen when the wax doesn't cool evenly, sometimes due to quick temperature changes or uneven pouring practices.
The trapped air bubbles also play their part, expanding and contracting until they disrupt the smooth surface of your candle.
To tackle this issue, monitor your pouring temperature closely; it's a crucial factor that influences whether cracks will form. Ensuring an even temperature distribution during cooling can make all the difference.
Also, consider opting for a denser wax blend if cracking persists—it might provide more stability as it sets. Trimming your wick properly before each burn helps too; it prevents overheating which can exacerbate existing cracks or cause new ones to form as the wax melts and resettles.
Causes of Candle Adhesion Problems

Temperature differences, wax type, container material, and fragrance oils can all contribute to adhesion problems in candles. Read more to understand the root of the issue and how to address it effectively.
Temperature differences
Temperature differences are a significant cause of candle adhesion issues. If the pouring space is too cold, wax may cool unevenly and shrink, creating gaps between the candle and its container.
This often results in unsightly wet spots where the wax pulls away from glass or ceramic sides. On warmer days, candles might adhere better as higher temperatures prevent premature cooling and contraction.
Maintaining a consistent temperature during both production and curing helps ensure optimal adhesion. Watch for signs of trouble when seasons change; cooler months bring less humidity and more challenges in keeping your candles snug against their containers.
Adjusting work area temperature can make all the difference, ensuring your homemade candles look smooth and professionally finished without any peeling or detachment from their vessels.
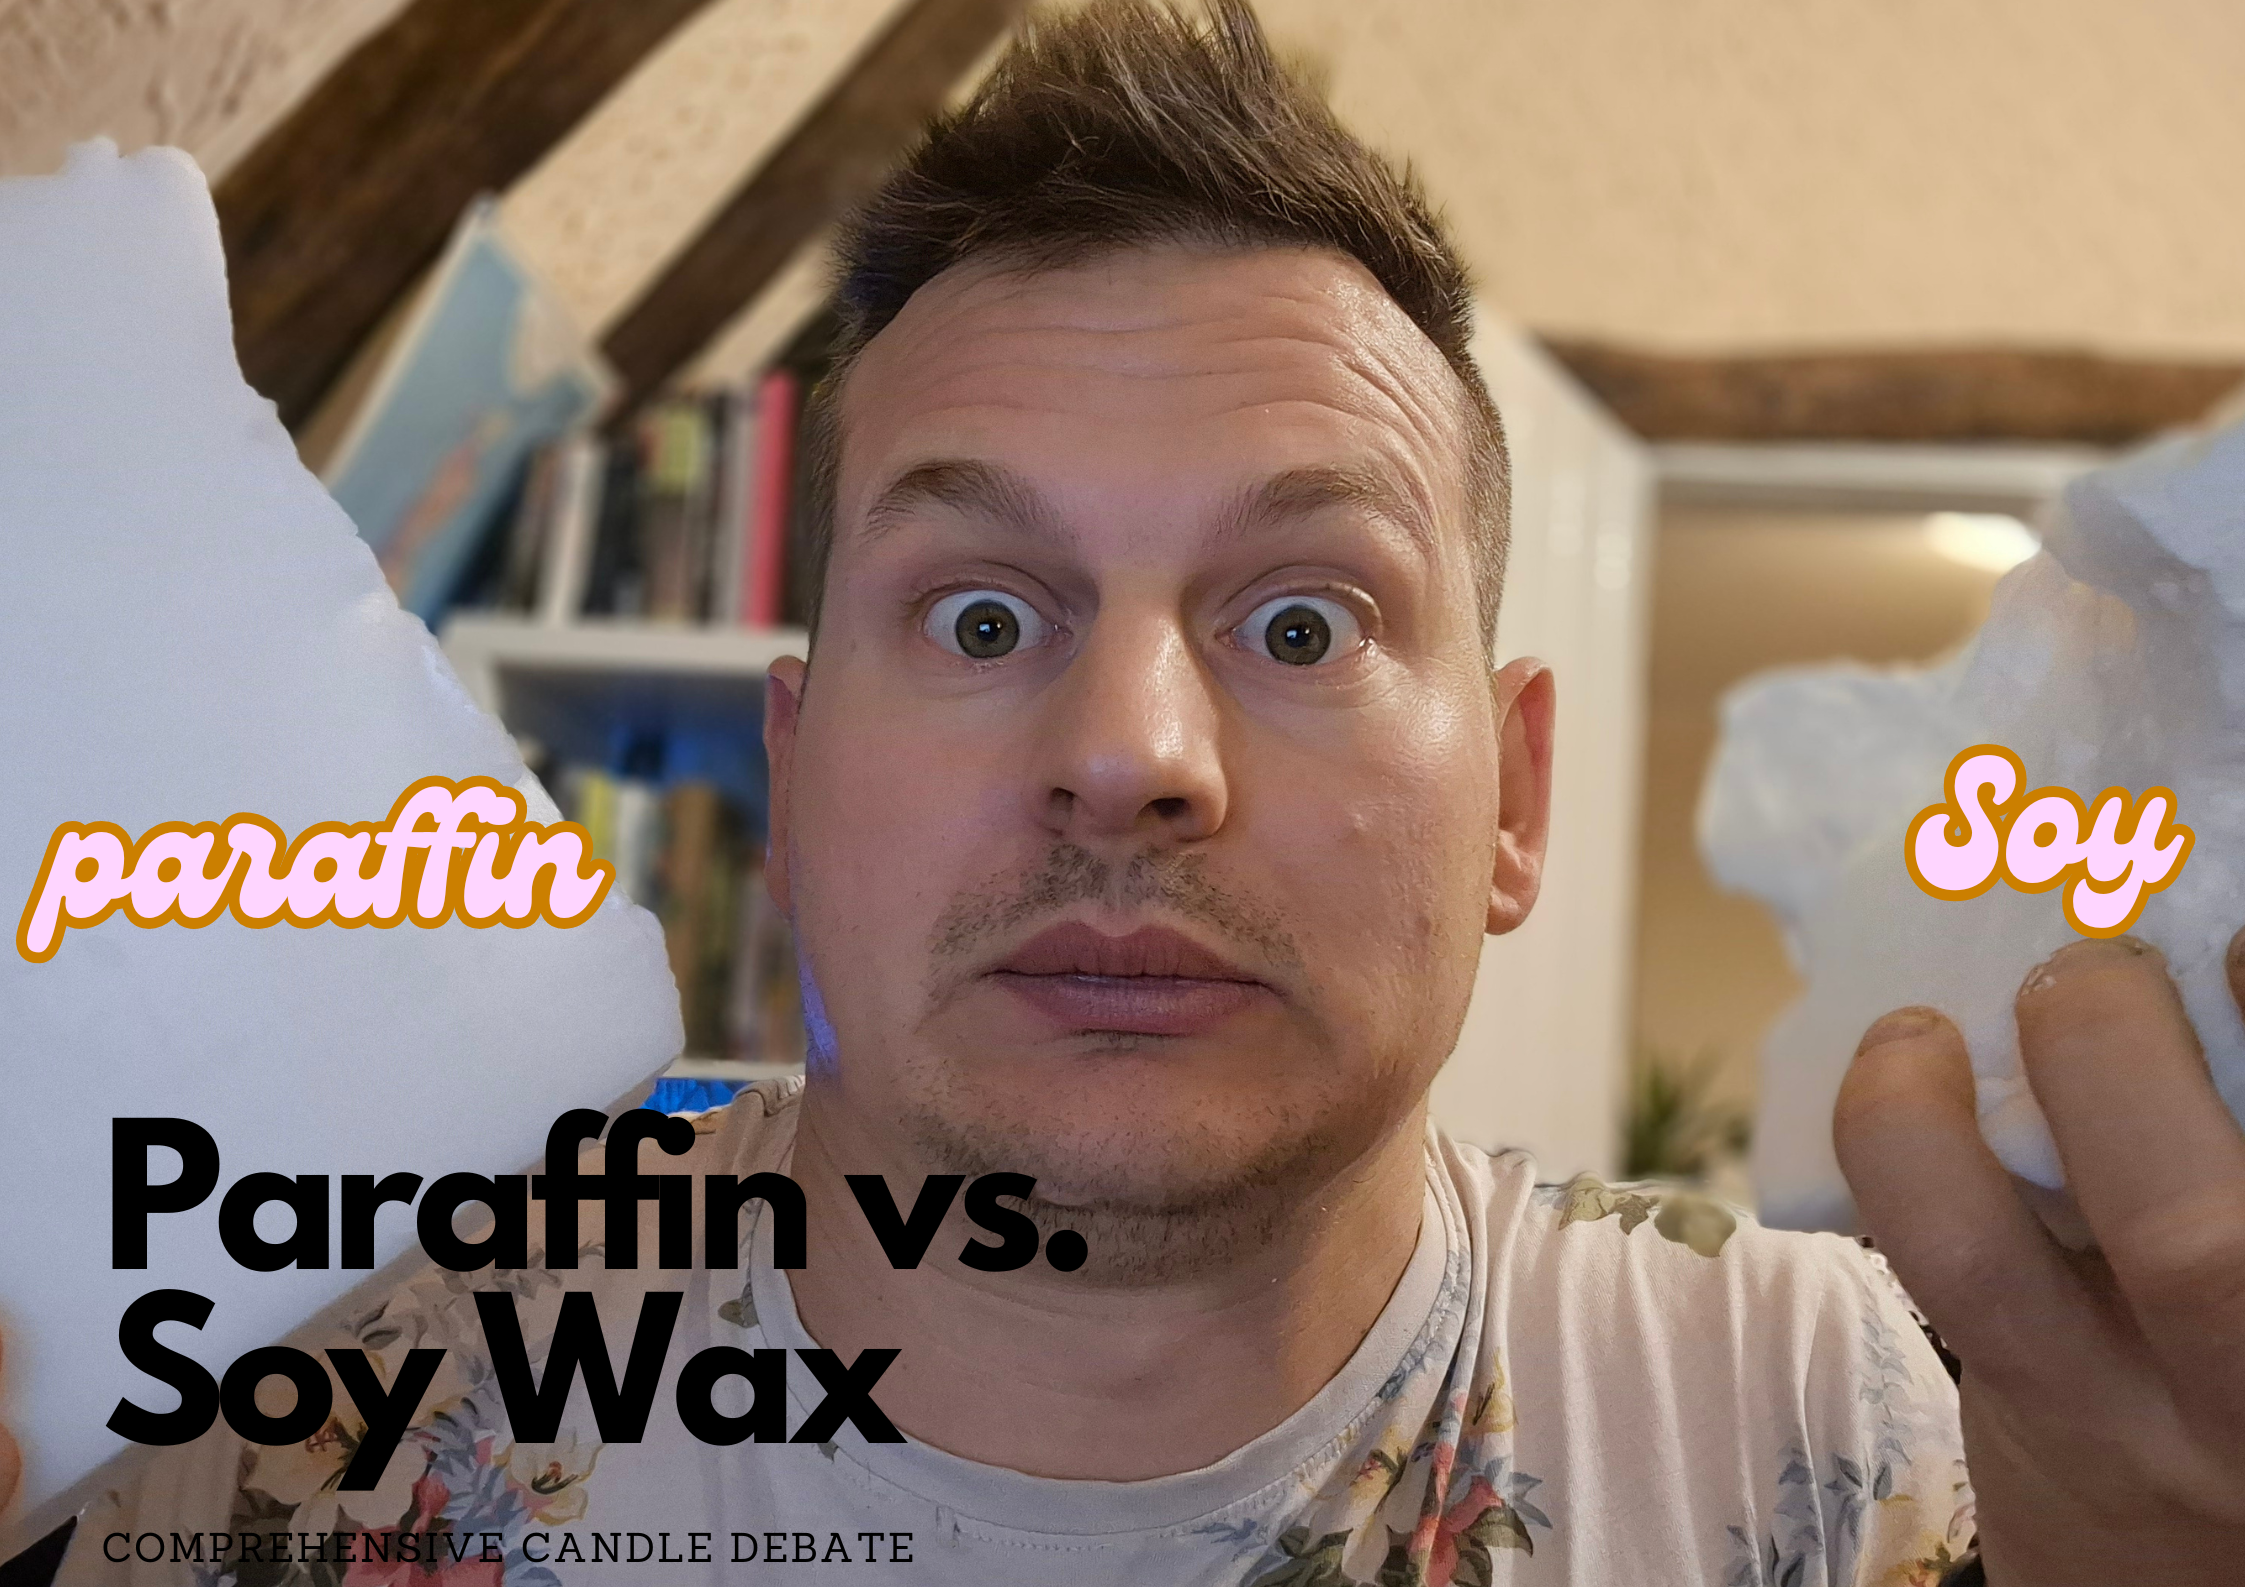
Wax type
Shifting from how heat impacts your candles, the wax you use plays a crucial role too. Different types of wax can behave very differently as they solidify. Soy wax, for example, is known to shrink more than paraffin when cooling down, which often leads to unsightly wet spots or rough surfaces on your finished candles.
These issues typically arise because soy is a natural material that doesn't always cool evenly.
Moreover, inconsistency in wax composition can also result in cracking; this happens when the candle cools and shrinks at varied rates throughout. The process may trap air bubbles inside the wax or cause it to pull away from the sides of the container, creating unsightly gaps.
If using fragrant oils with soy wax candles, ensure they are compatible since some oils may affect how well the wax adheres to container walls.
Container material
The material of your candle container plays a crucial role in adhesion. Glass containers, for instance, need to be clean and at the right temperature before pouring wax into them. If they’re too cold or dusty, you might face unsightly wet spots where the wax doesn't stick properly to the glass.
Choosing the right container also means considering its ability to withstand temperature changes without cracking.
Coconut oil can serve as an additive that enhances both scent throw and adherence in your candles, providing a potential solution to those pesky adhesion issues.
Fragrance oils
Adding too much fragrance oil or adding it at a cool temperature may lead to fragrance leaching, seeping, or bleeding in candles. This can cause adhesion issues such as wet spots and rough tops.
To avoid this, use less fragrance oil and ensure that the wax is at the correct pouring temperature when adding the fragrance.
Mushrooming at the end of the wick could be due to excessive carbon build-up caused by using too much fragrance and dye. Proper wick trimming and using appropriate amounts of these materials can prevent this issue from occurring.
Tips and Fixes for Candle Adhesion Problems

Adjust pouring temperature and use the right wax to prevent wet spots, rough tops, and cracking. Prepare your container properly and select appropriate fragrance oils for a smooth, well-adhered candle.
Adjusting pouring temperature
To prevent wet spots in soy wax candles, adjust the pouring temperature to match the specifications of the wax. This can help reduce the formation of uneven surfaces and eliminate the risk of sinkholes in candles by promoting even cooling throughout the candle. Furthermore, adjusting pouring temperature ensures a smooth and flawless finish during the candle-making process.
- Properly heat the wax to the recommended pouring temperature mentioned by the manufacturer to achieve optimal adhesion and reduce wet spots.
- Maintain consistency with the pouring temperature as per the specific instructions for your chosen wax type, reducing chances of rough, uneven tops in soy candles.
- Keeping an eye on proper pouring temperature helps in minimising sinkholes which are caused due to rapid cooling or extreme variations in temperatures during solidification.
- Adhering to correct pouring temperatures as suggested for different waxes assists in preventing wick - related adhesion issues like dipping wick or cracking, ensuring a uniform and sturdy candle throughout its burning process.
Choosing the right wax
To ensure your candles have a smooth finish and optimal adhesion, selecting the right wax is crucial. Consider the following while choosing the wax:
- Paraffin Wax: This type of wax is known for its ability to hold fragrance oils effectively, producing a strong scent throw.
- Soy Wax: While soy wax is eco-friendly, it may struggle with holding certain fragrances as well as paraffin.
- Coconut Oil and Coconut Wax: These options are gaining popularity due to their potential to reduce adhesion problems and offer good fragrance retention.
- Beeswax: Known for its natural aroma and golden hue, beeswax can provide excellent adhesion and burning properties if blended appropriately with other waxes.
- Palm Wax: This sustainable option creates unique crystalline patterns in candles but can be challenging to work with due to its high melting point.
Proper container preparation
Proper container preparation is vital to preventing candle adhesion problems. Preheating glass containers reduces frosting in soy wax candles. Pouring wax at the right temperature ensures good adhesion. Here are some additional tips for proper container preparation:
- Warming the containers in an oven at a low temperature before pouring the wax can help reduce frosting.
- Cleaning the containers thoroughly to remove any dust or residue will promote better adhesion of the wax.
- Ensuring that the containers are completely dry before pouring the wax is essential for preventing adhesion issues.
- Using a heat gun to eliminate any air bubbles on the surface of the wax after pouring can improve the overall appearance and adhesion of the candle.
- Placing the containers on a level surface while cooling will help maintain even adhesion and prevent sinking or uneven surfaces.
Selecting appropriate fragrance oils
- Consider the vanillin content and scent type of the fragrance oil as high vanillin content or citrus scents can cause yellowing of candles within 24 hours.
- Opt for fragrance oils specifically formulated for candle making to ensure optimal performance and adherence.
- Take into account how the fragrance oil interacts with different wax types to prevent potential adhesion issues.
- Prioritise fragrance oils that are less likely to cause sinkholes or rough tops in your candles.
Conclusion - Adhesion issues

To prevent candle adhesion problems, adjust the pouring temperature according to the wax type. Choose a wax suitable for your needs and prepare the container properly. Select fragrance oils carefully based on their compatibility with the wax.
Check wick size and placement to ensure an even burn and avoid tunnelling. By following these tips, you can troubleshoot and fix common candle adhesion issues effectively.
FAQs
1. Why is the wick size important for preventing candle adhesion problems?
The right wick size helps the candle burn properly and avoids issues like sinkholes or wax sticking to the sides of its container.
2. What causes sinkholes in candles?
Sinkholes can occur when the wax cools too quickly and shrinks, leaving a void around the wick or elsewhere in the candle.
3. Can browsing online help solve my candle-making issues?
Certainly! Browsing through encaustic techniques on reliable websites provides great solutions for common problems like wax not adhering correctly.
4. How does evaporation affect my homemade candles?
If your melted wax gets too hot causing it to evaporate, it may create imperfections such as pits or poor adhesion to the vessel once cooled down.