Candle making for beginners
Sep 27 , 2023
As an expert candle artisan who's seen it all, I get a lot of questions from total newbies about how to start making candles at home. And I gotta tell ya, that first leap into melting wax can feel intimidating! But once you get the basics down, you’ll see candle crafting is fun and doable for beginners.
Candle Making for Total Newbies: The Wax on Getting Started with DIY Candles

In this complete guide, I’ll be your Candle Fairy Godmother. I’ll hold your hand and walk you through everything from choosing wax and wicks to troubleshooting candles that just won’t cooperate. By the end, you’ll be a candle making expert ready to fill your home with more handmade candles than Yankee Candle!
Let’s get started with the top questions I always get from candle newbies:
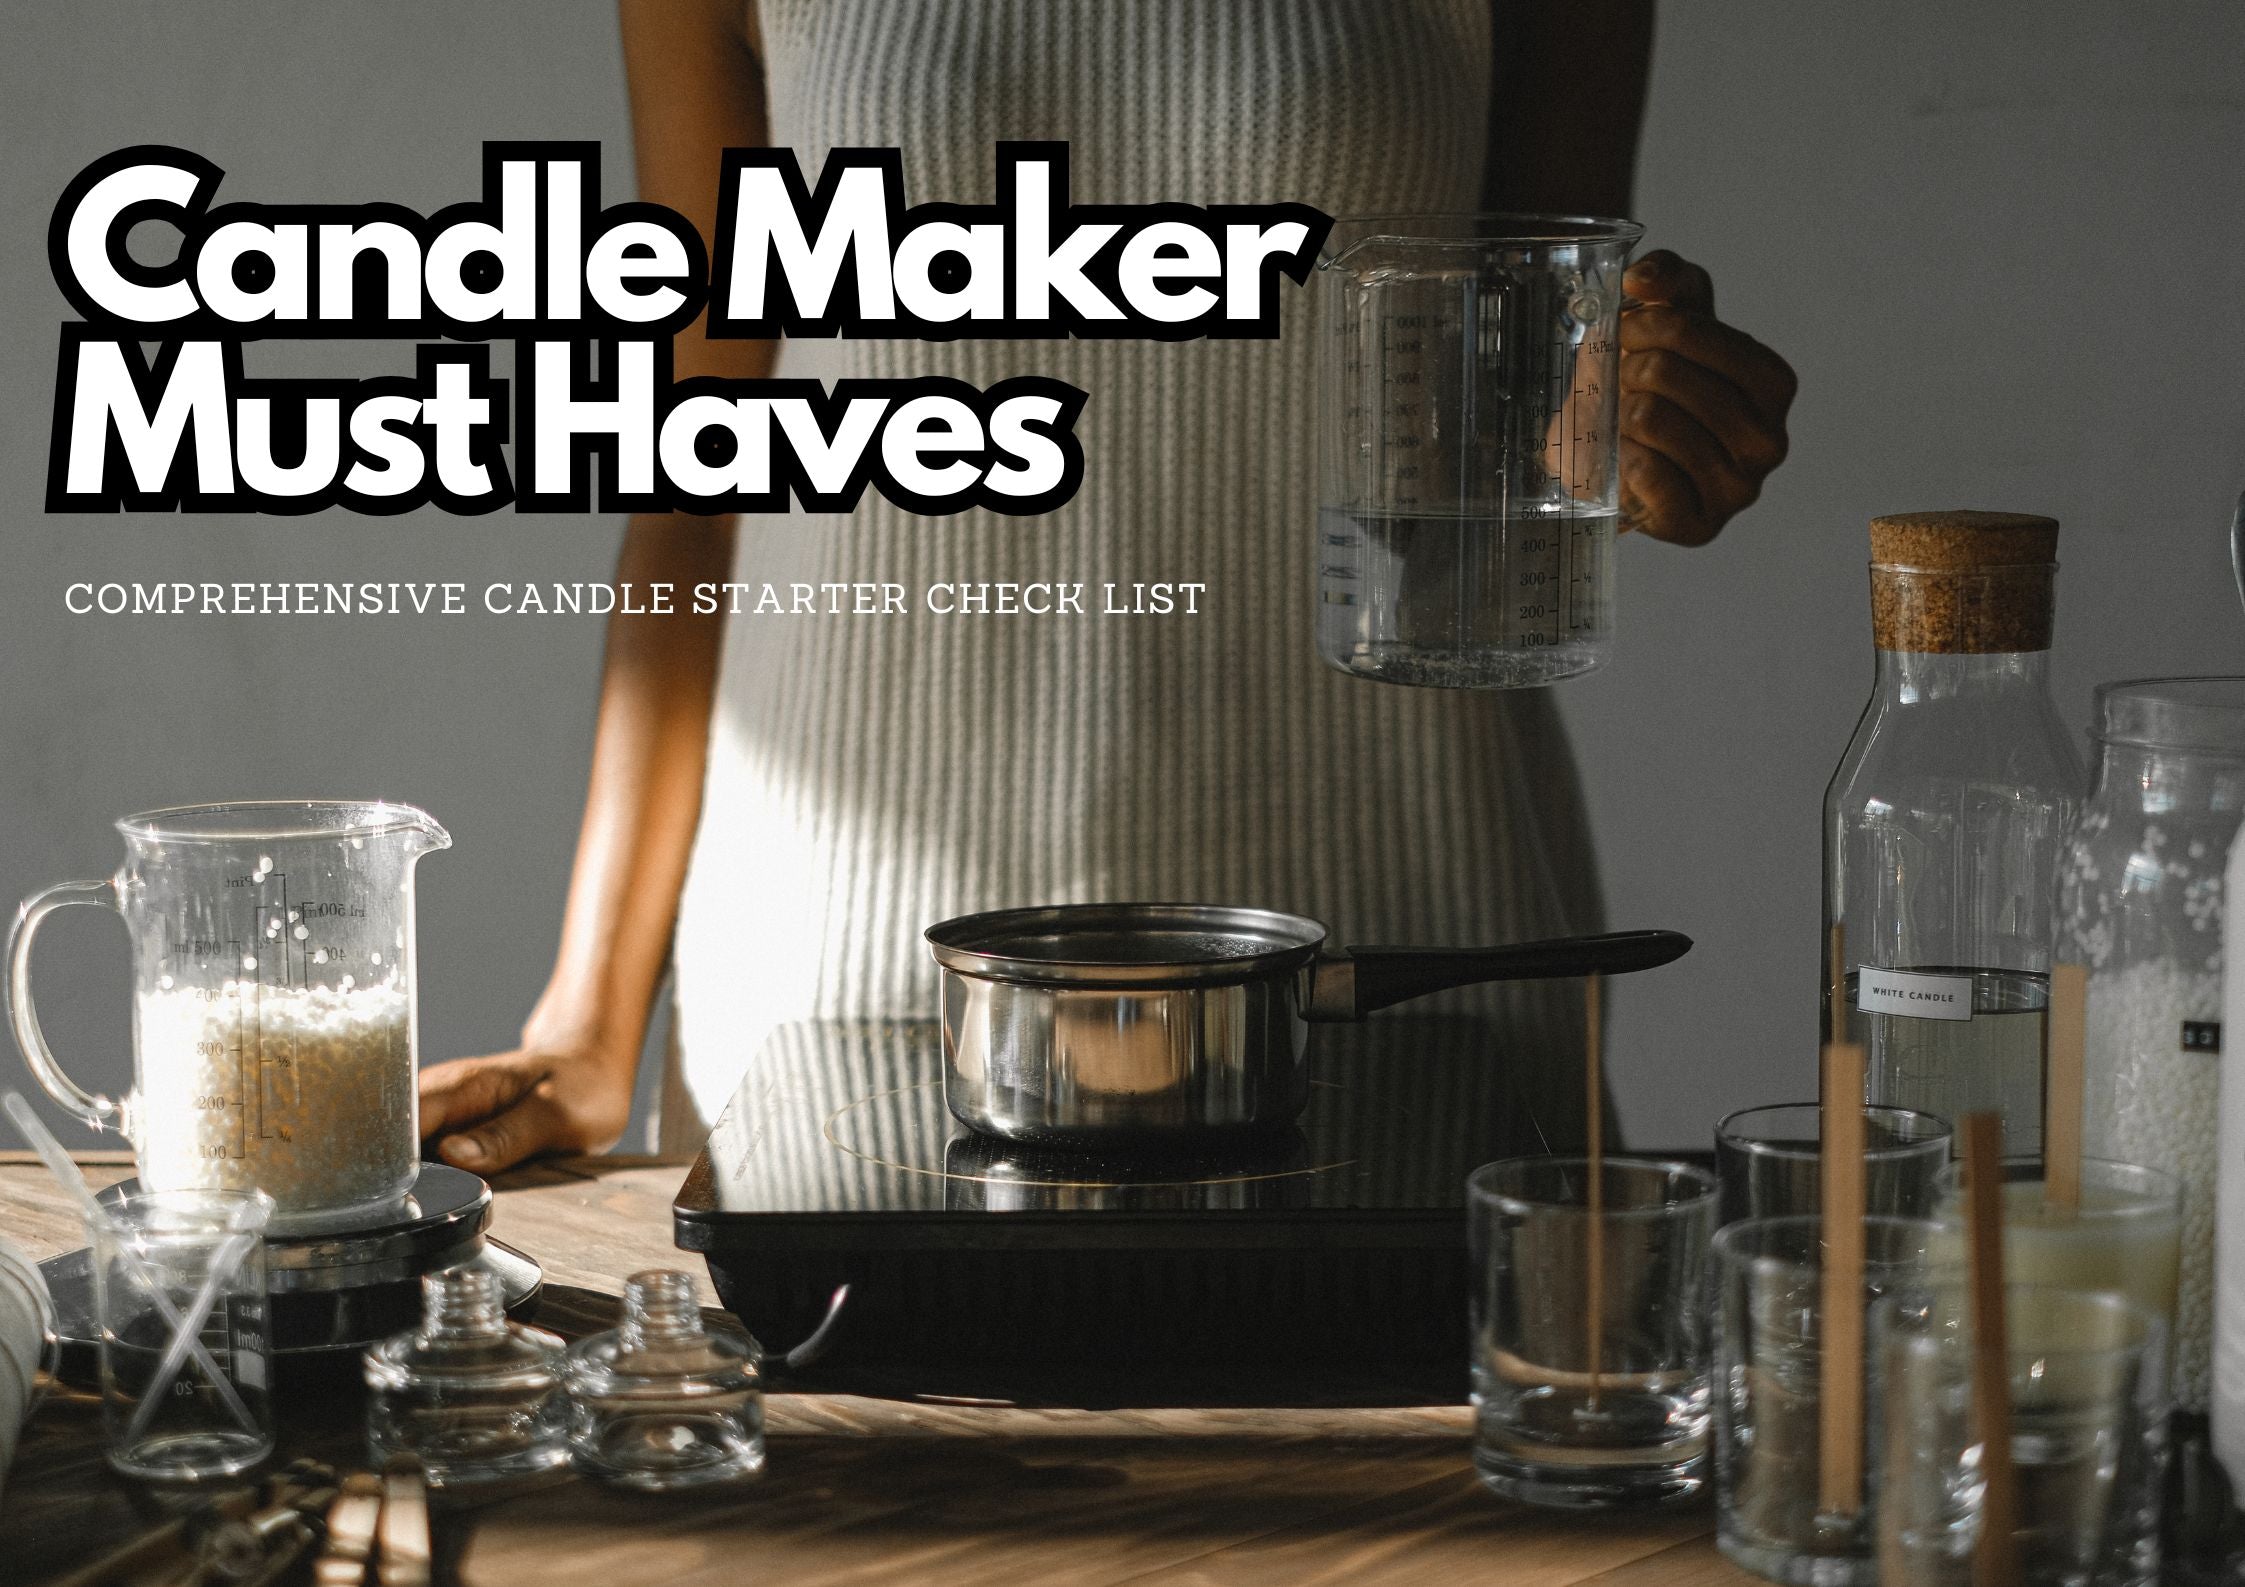
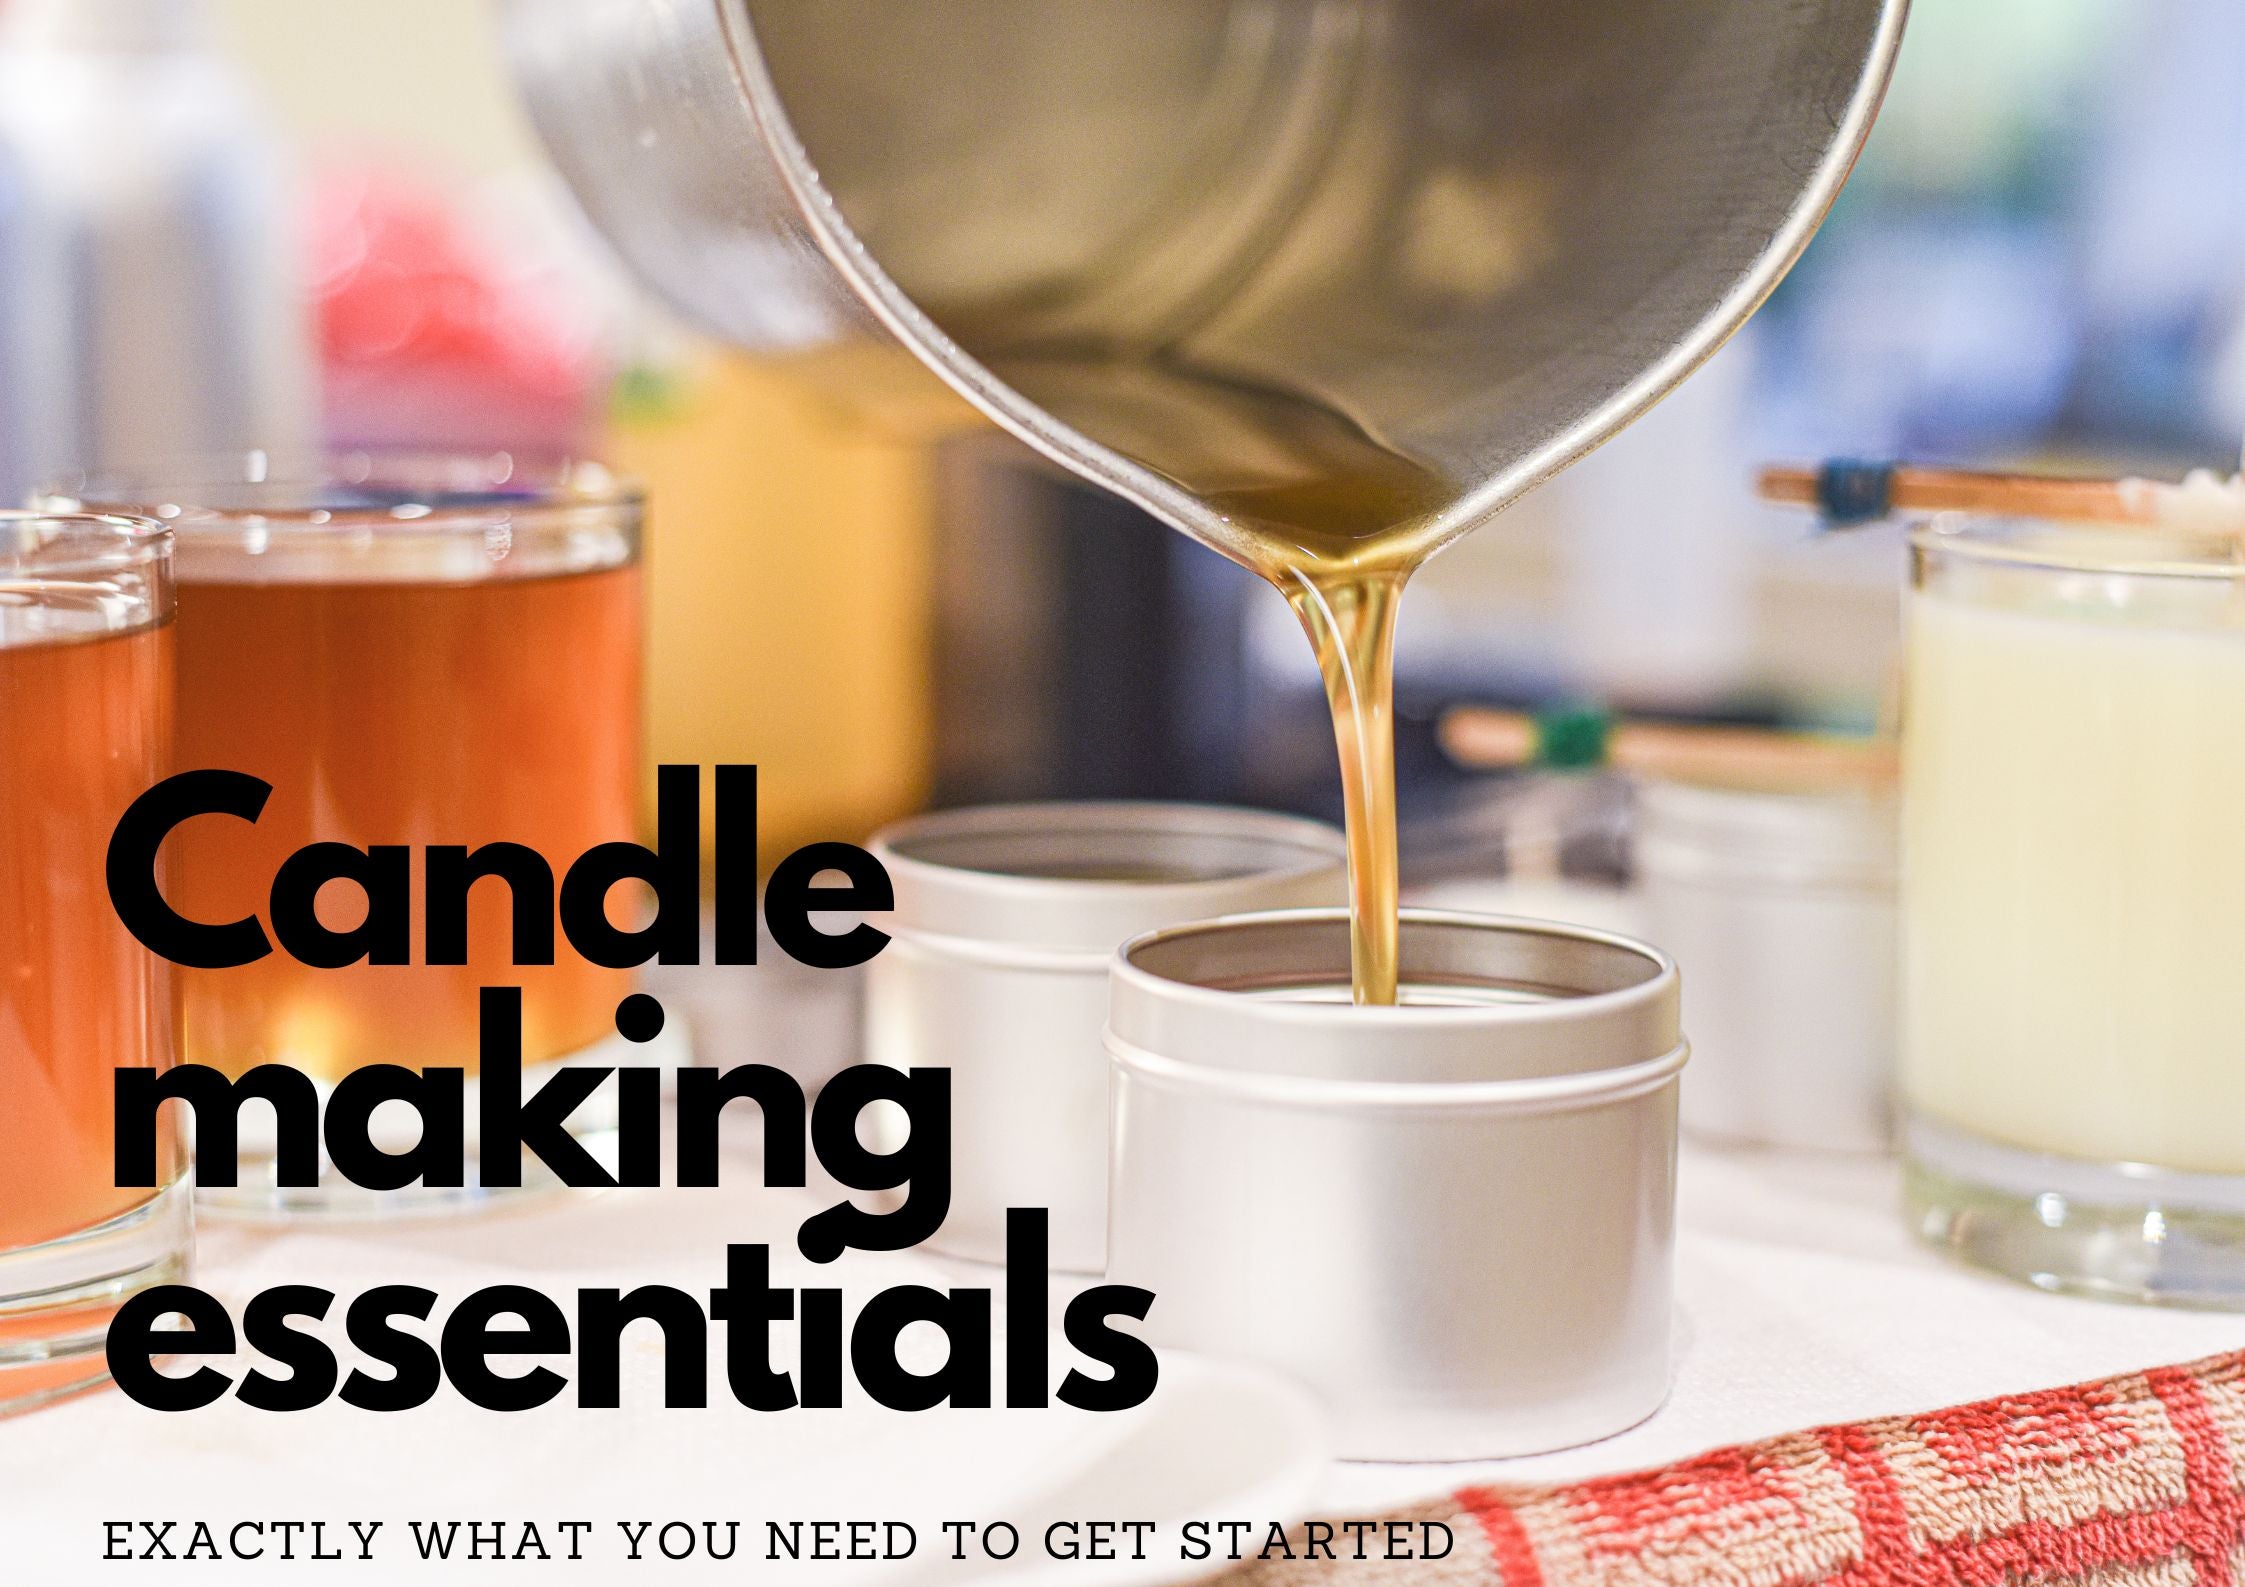
What Supplies Do I Need to Make Candles?

First up, you’ll need wax—the heart and soul of any candle. For beginners, I recommend soy wax flakes. Soy wax has a lower melting point which makes it easier to work with. Some beginner-friendly soy wax options are:
- - Golden Soy Wax 464
- - NatureWax C-3
- - EcoSoya CB Advanced
Wicks
Then you’ll need wicks, which are the tiny string inside the candle that you light on fire. Wicks for soy wax are typically flat, braided cotton that come pre-tabbed or pre-wired. This makes it easy to centre them in your container.
Here are some other candle making necessities:
- - Thermometer - to monitor wax temperatures
- - Double boiler or makeshift setup - to melt the wax
- - Containers like jars, tins, or silicone moulds
- - Pouring pitcher - to transfer melted wax
- - Dye blocks - to colour the wax
- - Fragrance oils - for scent
- - Stir sticks - to blend in dye and fragrance
And you'll want kitchen basics like potholders, paper towels, and utensils for prep work. Safety first when you're dealing with hot wax!
What is the Candle Making Process?
Here’s a quick overview of the basic process:
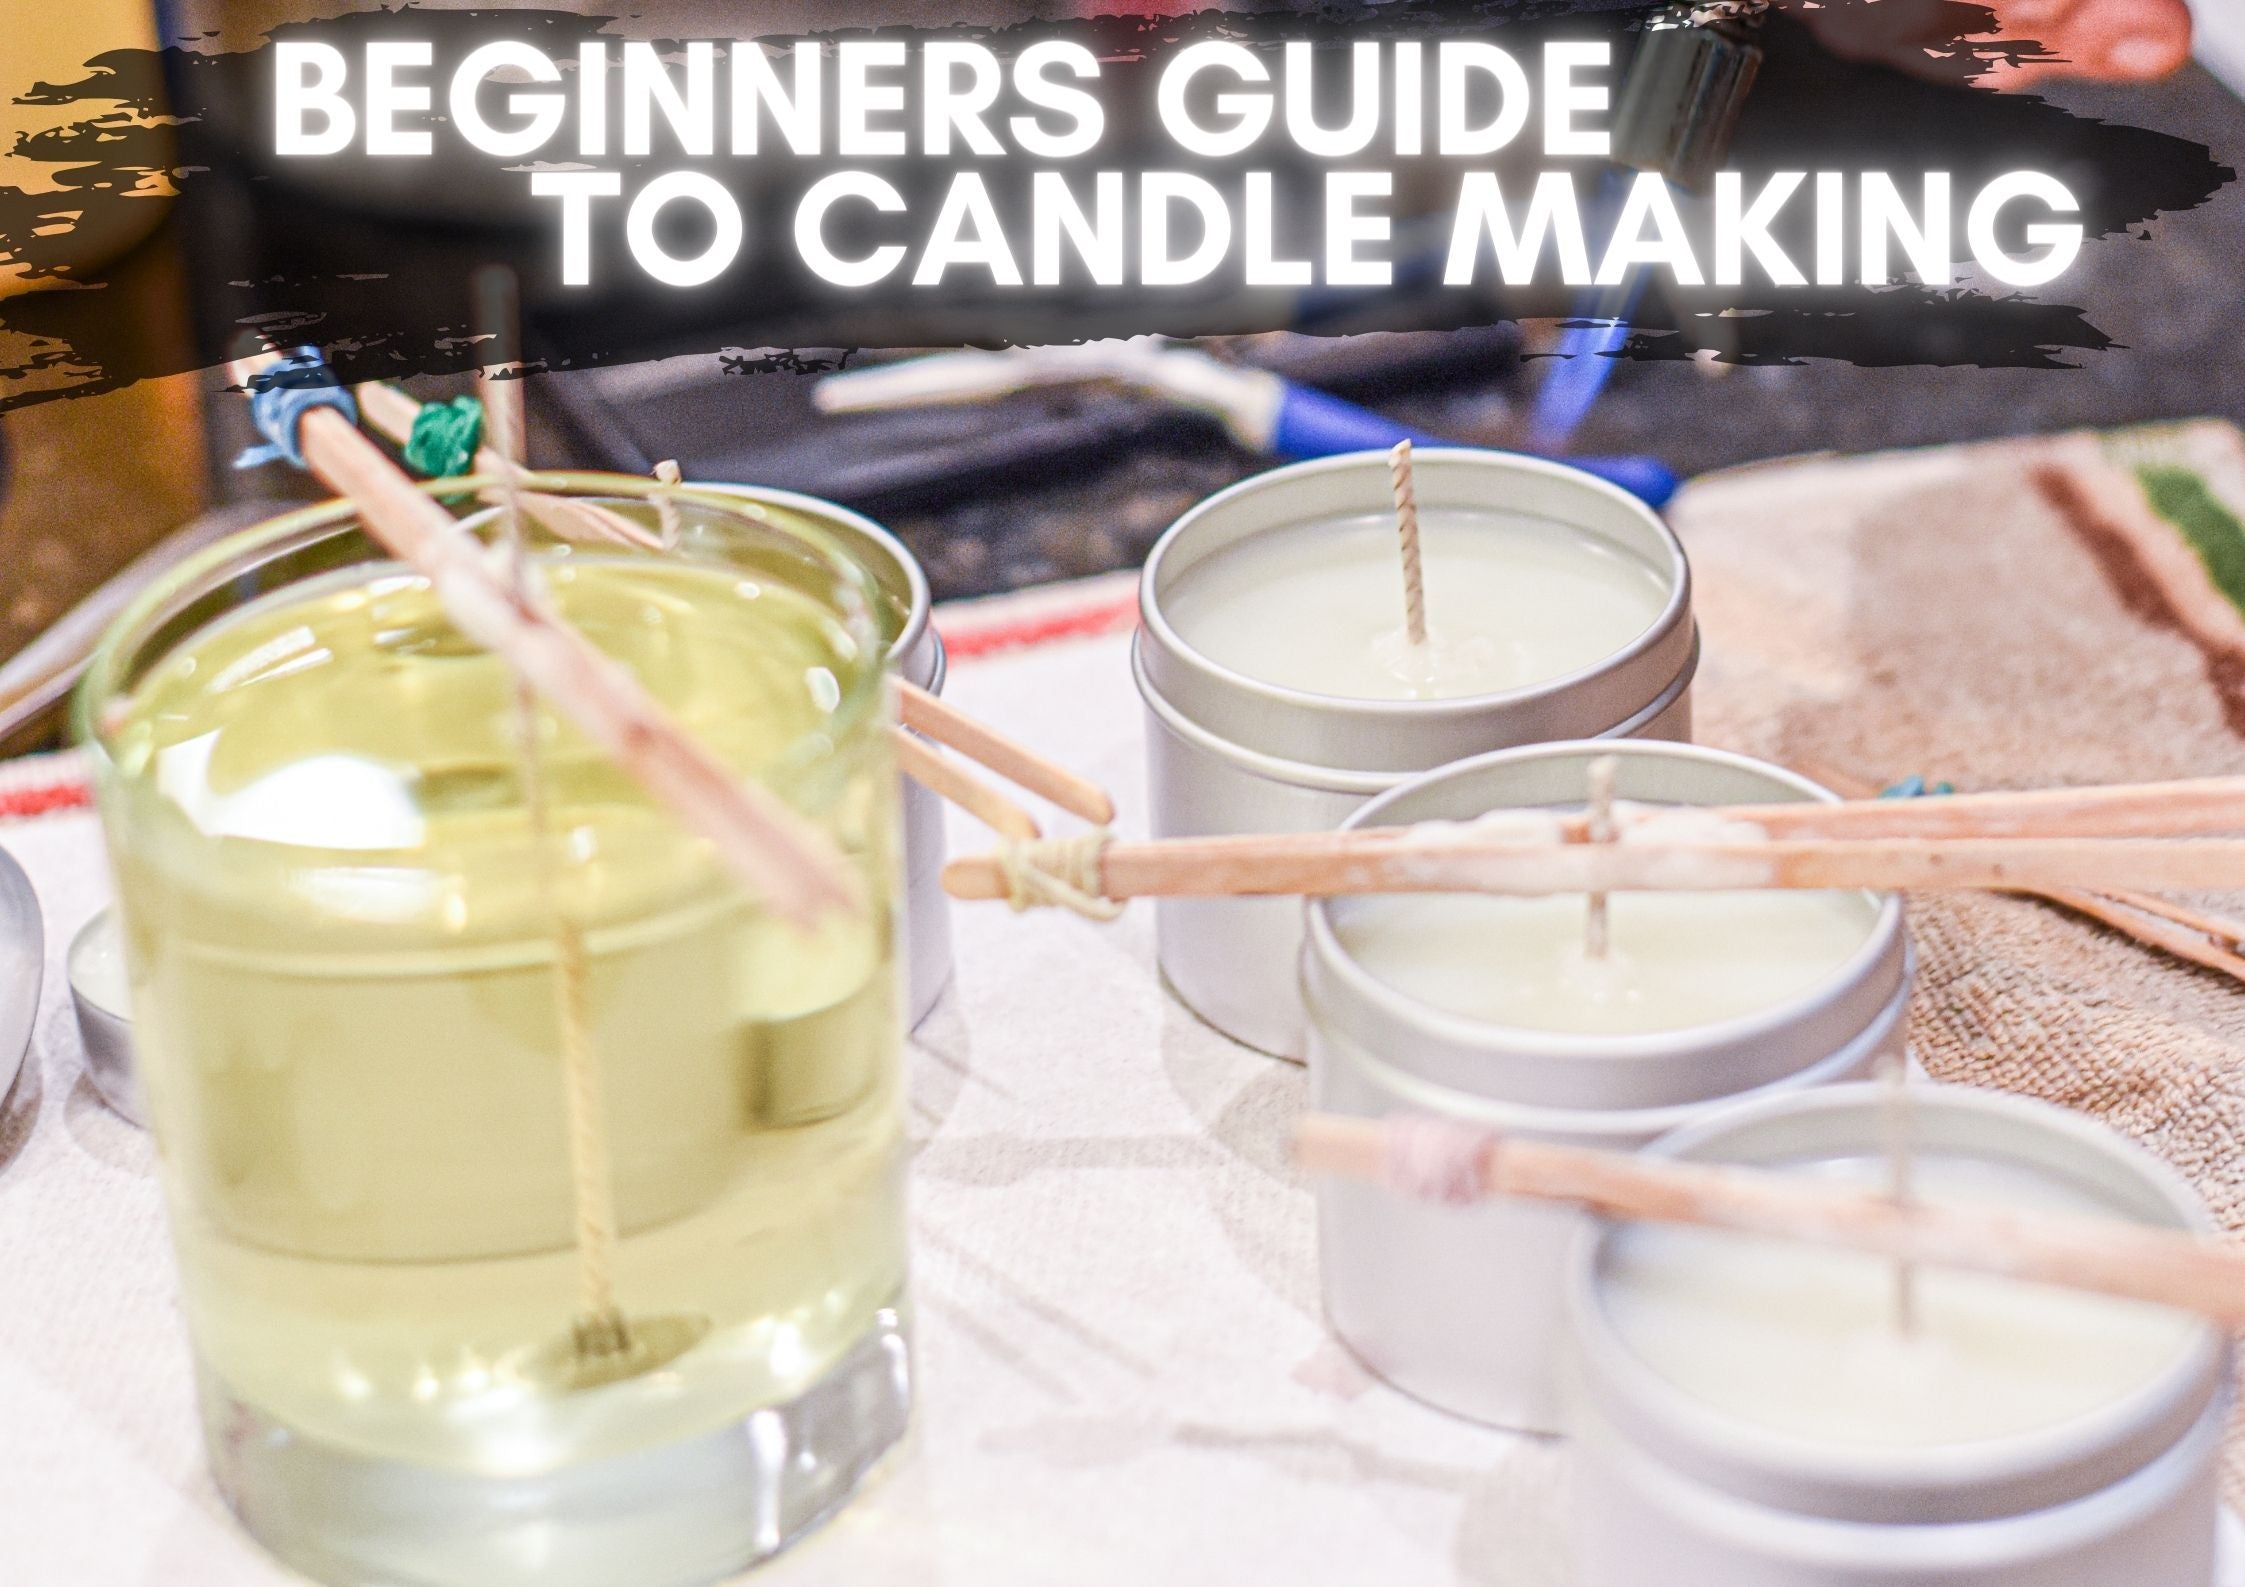
1. Set up a double boiler to melt wax.
2. Prepare wicks in containers by centering and adhering the base.
3. Melt wax to 185°F. Add dye and fragrance.
4. Cool wax to 135°F and pour into containers.
5. Allow candles to fully set up undisturbed.
6. Trim wicks before burning.
Seems easy enough, right? Now let’s break down each step...
How Do I Melt Wax for Candles?
First, you’ll need to create a double boiler to melt your wax. This indirect heating prevents the wax from overheating.
You can DIY a double boiler using a saucepan or crockpot for the bottom pot filled with water. Place a glass or metal bowl on top, resting it on the rim. This top pot will hold the wax.
For stovetop melting, medium heat is ideal. Keep a close eye and stir regularly so all the wax melts evenly. Heat soy wax to 185°F to ensure it’s fully melted and any extra moisture evaporates.
How Do I Add Fragrance and Dye?
Scent and colour are easy ways to customize candles! But wait until wax has melted fully before adding anything.
Use a thermometer to let the wax cool down to around 170°F. Then stir in drops of dye or blocks as desired to tint the wax.
Next incorporate your fragrance oils, following the usage rate on the bottle. Most are about 1 ounce per pound of wax. Stir everything together well before pouring.
I recommend checking your candle waxes guidelines as some waxes can take up to 12% fragrance load where as others can only take up to 8% - Too much fragrance oil can lead to safety issues and candle sweating.
How Do I Pour Candles?

Candle pouring is an art—you want to avoid spills and get your wax into the container smoothly. Here are some tips:
- Heat your container first by filling it with hot water. This prevents shock cooling the wax. Dry thoroughly before pouring.
- Pour wax at 135°F for the best results. Below 130°F, it will start to thicken and set up too fast.
- Work quickly but carefully! Use a pouring pitcher you can grip firmly. Keep the spout near the container rim as you tilt and swirl to fill.
- Leave at least 1⁄4 inch of headspace for the melt pool when the candle burns.
Pour too hot and you risk wet spots where wax pooled unevenly. Too cold and you’ll get those dreaded sink holes. 135°F is the wax’s sweet spot!
How Long Should I Let Candles Cure?
Patience padawan! Allow your molded candles to rest undisturbed for at least 24 hours, up to 48. As candles cure, molecules in the wax continue to align and solidify.
This curing time makes a stronger candle and allows for better wax adherence to container sides. No one likes a loose bottom, am I right?
What Should I Do Before Lighting Candles?

A few tasks before lighting up your new creation:
- Trim wicks to 1⁄4 inch length. This prevents excess smoking and uneven burning.
- Make sure wicks are straight and centered. Fix if needed.
- Allow candles to pool on first burn, meaning let the wax liquefy all the way to the container edges. This establishes the proper melt pool.
Now bask in that candle glow! You’re well on your way to master candle maker status.
Troubleshooting Common Candle Problems
Of course, when you’re starting out with a new skill things don’t always go smoothly. Here are some common beginner candle problems and how to fix them:
Wet Spots - If you see wet ring marks or spots, wax probably pooled unevenly as it cooled. This happens when wax is too hot. Next time, pour around 135°F.
Frosting - A whitish frost layer results when wax cools too rapidly after pouring. Slow down cooling by pouring warmer wax or warming the container.
Sinkholes - Pesky sinkholes are caused by pouring wax that’s too cool or into a cold container. Reheat the wax just until melted again and repour.
No Fragrance Throw - If your candle has zero scent when lit, the fragrance oil amount may be off. Use the maximum suggested rate on the bottle.
Wax Not Sticking to Container - Ensure containers are totally clean. A bit of rubbing alcohol removes residue. Pouring temperature also affects wax adhesion.
With practice, you’ll be troubleshooting like a pro! But if you’re ever not sure what went wrong, just contact me and we’ll get your candle situation sorted out.
Choosing Wick Sizes for Different Candles

Selecting the proper wick for your candle is key for an even burn and maximum scent throw. Here’s a quick guide to wick sizes based on container diameter:
- Up to 2” wide - use CD wicks
- 2-3” containers - CD or ECO wicks
- 3-4” jars or tins - ECO series wicks
- 4-5” jars - ECO or HTP wicks
For beginners, I recommend getting a variety pack of different wick types and testing to see which ones perform best in your candles.
You generally want a larger wick for candles with harder wax like soy blends. The wax pool size should match the container diameter when lit. Test different wicks to find the ideal width of melted wax.
Choosing Dye and Fragrance Oils
When it comes to scent and colour, the options are endless! Here are some pouring tips:
- Use less dye at first - you can always add more. But you can’t take it out!
- Mix dyes to create custom colours - blue and yellow make green.
- Match dye and fragrance - fruity scents pair nicely with red or pink.
- Use essential oils with caution - many have lower flashpoints. Ask the manufacturer first or do a test burn.
- If using glitter or shimmer, add it to the wax after cooling to around 110°F. Too hot may burn off glitter.
Feel free to get creative and make each candle unique. Once you’ve nailed down the basics, experimenting with different wax blends, scents, and designs is the fun part!
Advanced Candle Making Techniques
When you’re feeling ambitious, try some of these more advanced candle making techniques:
- Embeds - add objects by suspending them in wax like flowers or seashells.
- Splatter pouring - flick dye droplets into white wax for abstract art candles.
- Crystallizing - add crystalline powder to hot wax to create a shimmery appearance.
- Carving - shape intricate designs on the candle surface with carving tools.
Take your time perfecting the candle basics before moving onto advanced decorating. But the possibilities are endless once you’ve honed your skills!
Gifting and Selling DIY Candles
One of the best things about candle making is that your handmade candles double as heartfelt gifts! Here are some tips:
- Personalize candles for the recipient by choosing their favourite scent.
- Use decorative jars, tins, or pots based on their style.
- Print and attach gift tags sharing candle making details or a nice message.
- Pack candles with care to avoid wick damage - wrap in tissue, seal lids with tape.
Once you’ve gotten good at candle crafting, you may even consider selling your candles locally. Take high quality product photos, set up an online shop, and get ready to spread the cosy candle magic!
Lavender essential oil candle recipe

After a long, stressful day, there's nothing better than lighting a calming lavender candle. The sweet floral scent is renowned for its relaxation powers. This lavender soy candle recipe will help you zen out in style.
For this soothing candle, you'll need:
- 454g soy wax flakes
- Pre-tabbed wick
- 2 tbsp / 14g dried lavender buds
- 15 drops lavender essential oil
Here's how to make the magic happen:
- Setup a double boiler and melt 454g wax to 85°C/185°F.
- Remove from heat and let cool to 79°C/175°F.
- Add 14g dried lavender buds and stir gently.
- Next add 10 drops of lavender oil and combine thoroughly.
- Allow wax to cool to 57°C/135°F.
- Carefully pour into a prepared container with wick.
- Top with remaining dried lavender buds for decoration.
- Let candle cure for 24 hours before lighting one up and breathing in the lovely lavender scent.
The natural lavender buds give a pretty pop of colour while the essential oil provides an authentic aroma. This candle is the perfect precursor to a restful night's sleep.
Change up the vessel shape or wax colours to make lavender candles to suit any style. Gift to friends when they need a relaxing pick-me-up!
Let me know if you give this lavender candle a try and how it turns out. And if you need any other candle recipes or tips with metric weights, just ask!
Now You’re Ready to Make Your Own Candles!
There you have it - everything a total beginner needs to know to start making awesome candles at home. I hope this guide gets you all fired up to begin your candle making journey.
It may take a few tries to get the technique down. But I promise with practice you’ll be a lean, mean candle machine! You’ll soon have candle wax on lock and a house filled with your gorgeous, hand-poured soy creations.
So grab your wax, wicks, and thermometer - it’s time to make some magic! Once you discover how fun and rewarding it is to DIY candles, you’ll be hooked. Need any more candle help or have a tricky candle question? Don’t hesitate to reach out - I’m always happy to lend a helping hand!