How to make a candle at home?
Oct 15 , 2022
| Author | Read Time |
|---|---|
| Jason Finney | 15 minutes |
If you love DIY projects, there are few things more exciting and rewarding than home candle making. Browsing the internet can give you a lot of useful information, but it's easy to get lost in the mass of data and opinions and forget what's really important: having fun while doing the project. So if you want to learn how to make a candle at home, let's dive in!
Here's a quick overview covering the candle making process:
Quick Guide: How to Make Candles
- Gather Supplies: Collect wax, wicks, a melting pot, thermometer, fragrance oils (optional), and molds or containers.
- Melt Wax: Heat wax in a double boiler or microwave until it reaches the desired temperature, typically around 180-190°F (82-88°C).
- Prepare Wicks: Attach wicks to containers or molds, securing them in the center.
- Add Fragrance and Color: If desired, mix in fragrance oils and candle dyes to customize your candles.
- Pour Wax: Carefully pour melted wax into containers or molds, leaving some space at the top.
- Cool and Set: Allow candles to cool and solidify for several hours or overnight.
- Trim Wicks: Trim wicks to about ¼ inch (0.6 cm) above the candle surface.
- Enjoy Your Homemade Candles: Your candles are now ready to light and enjoy!
Making your own candles is a great hobby to master and it can even turn into a little side hustle, like it did for me. Even if you just want to create your own candles for personal use or for gifts you have a greater selection of fragrances, controls and options. Plus they're cheaper to make as well, so that's a win. Cheaper, stronger & natural = triple win!
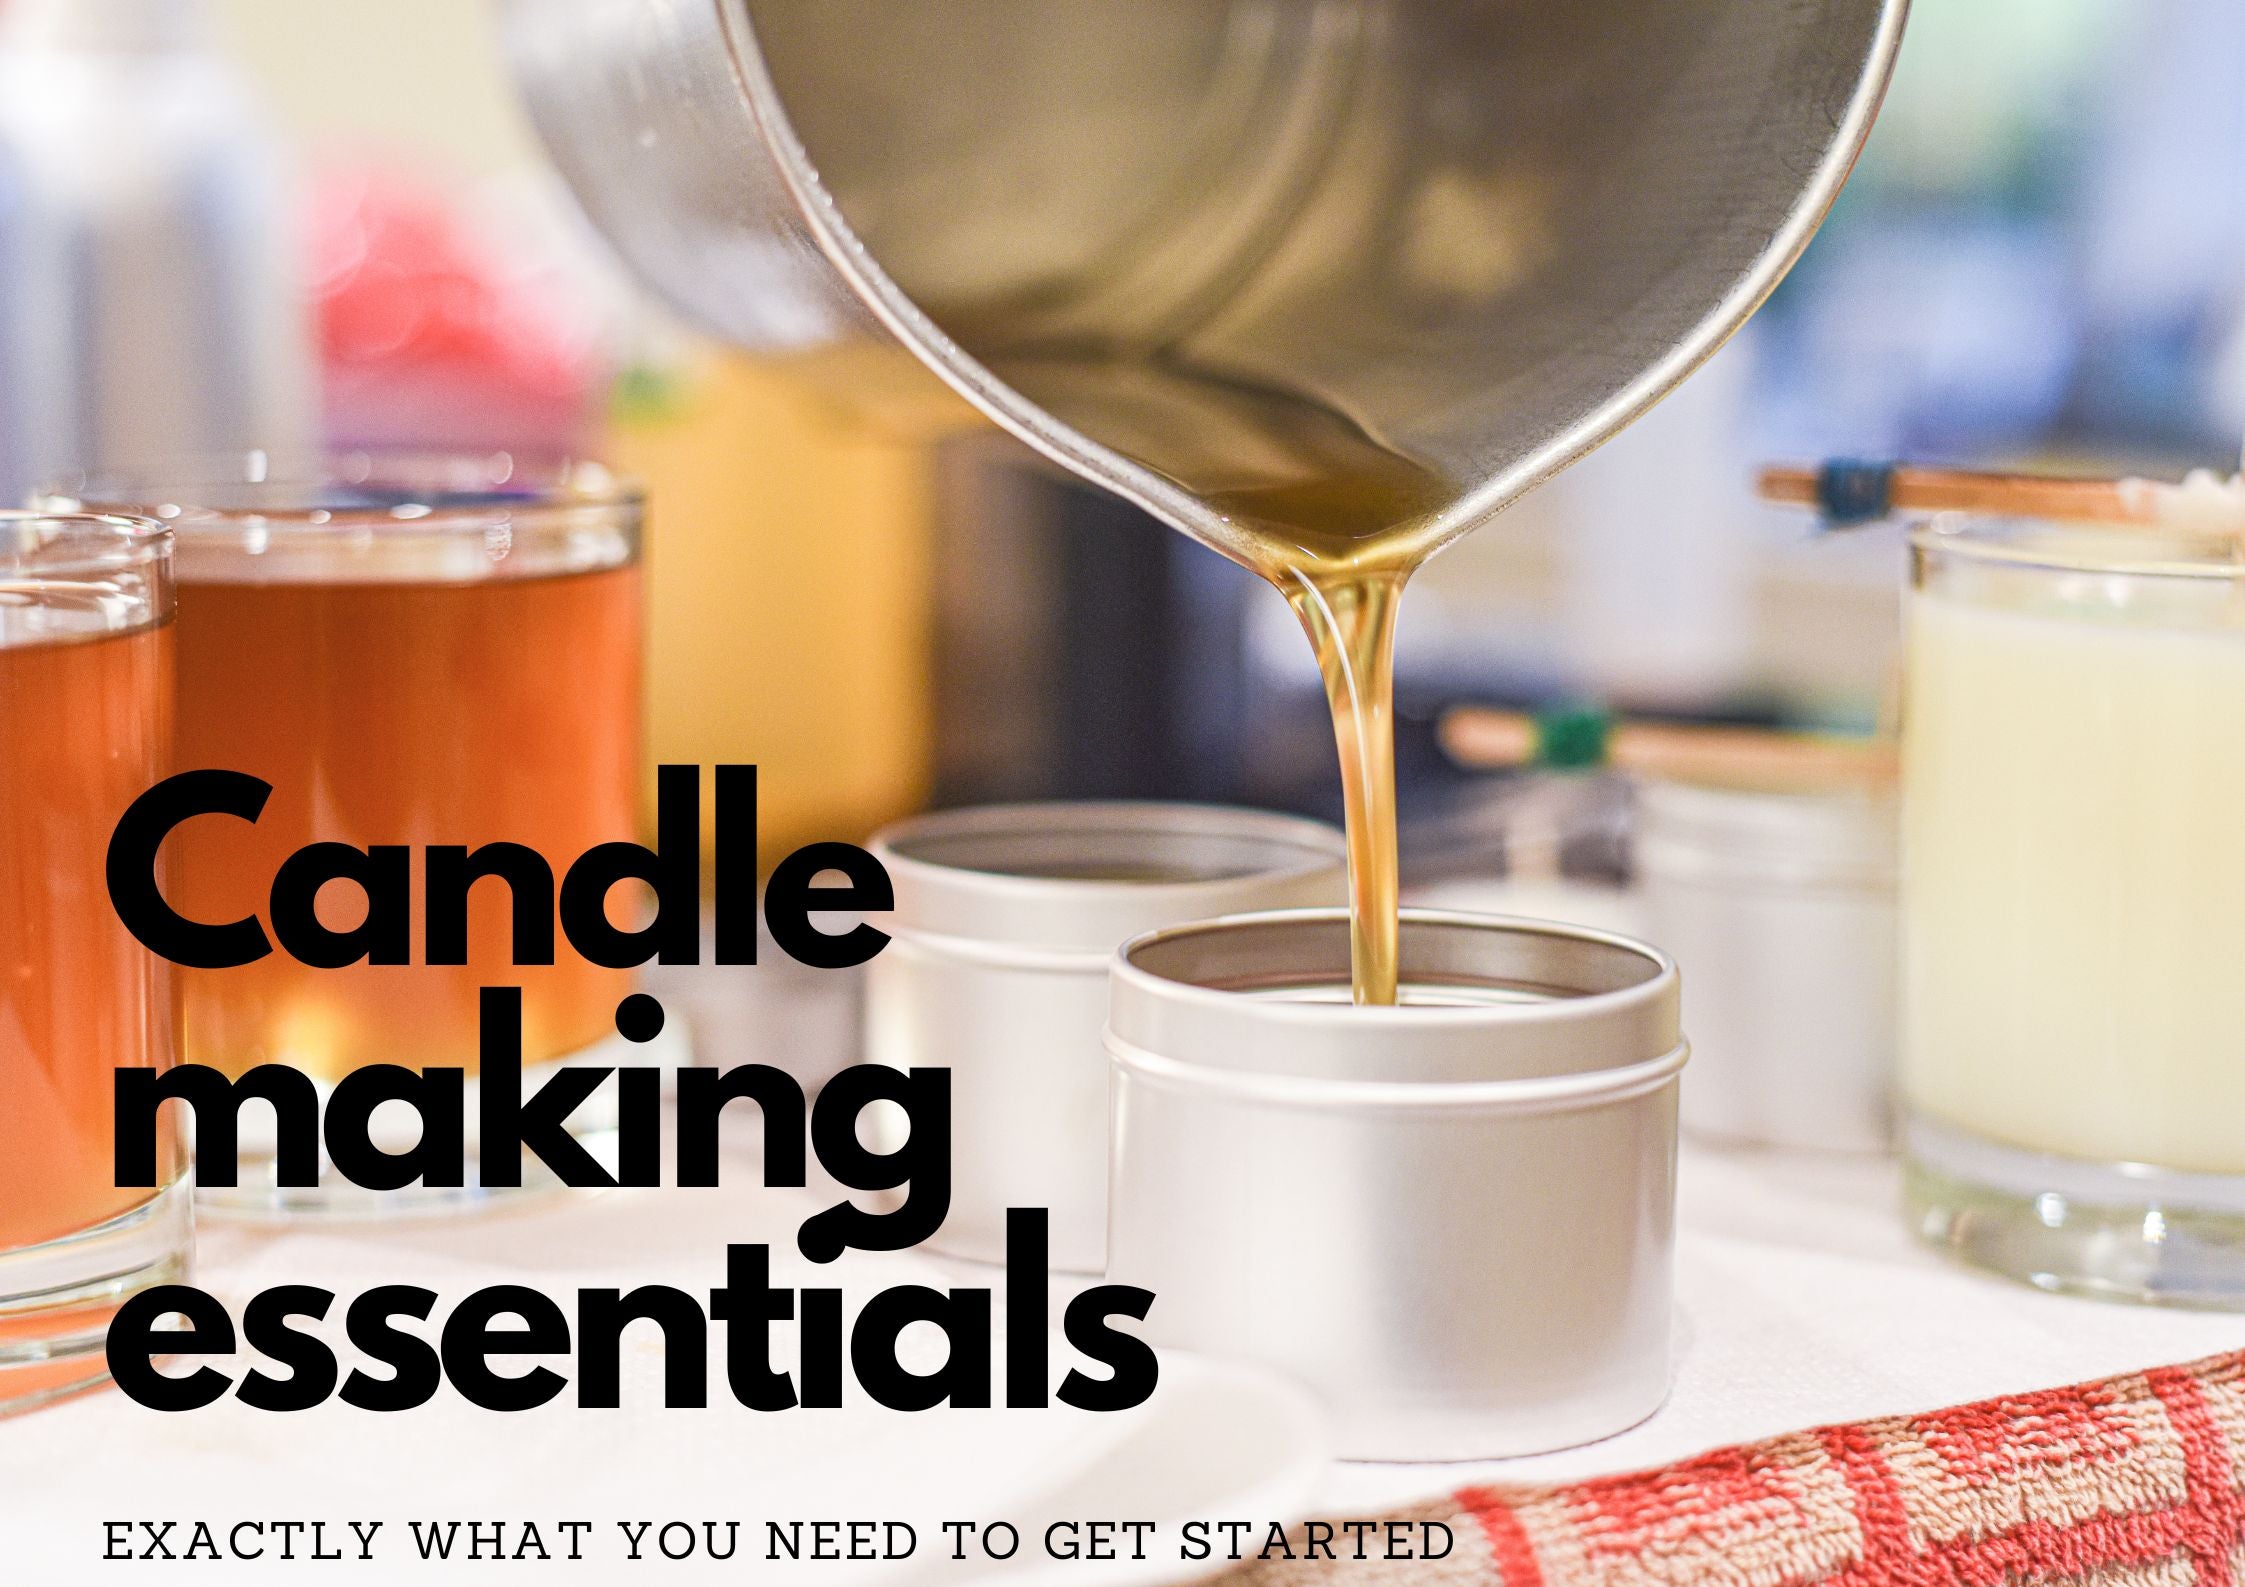
If you're new to candle making, I'd suggest looking at my previous article - What do you need to make candles. This article goes over literally everything you need to begin your candle making journey, from different types of wax, wicks and vessels.
The guide below shows you, step-by-step, how you can make a beautiful, long-burning soy wax scented candle.
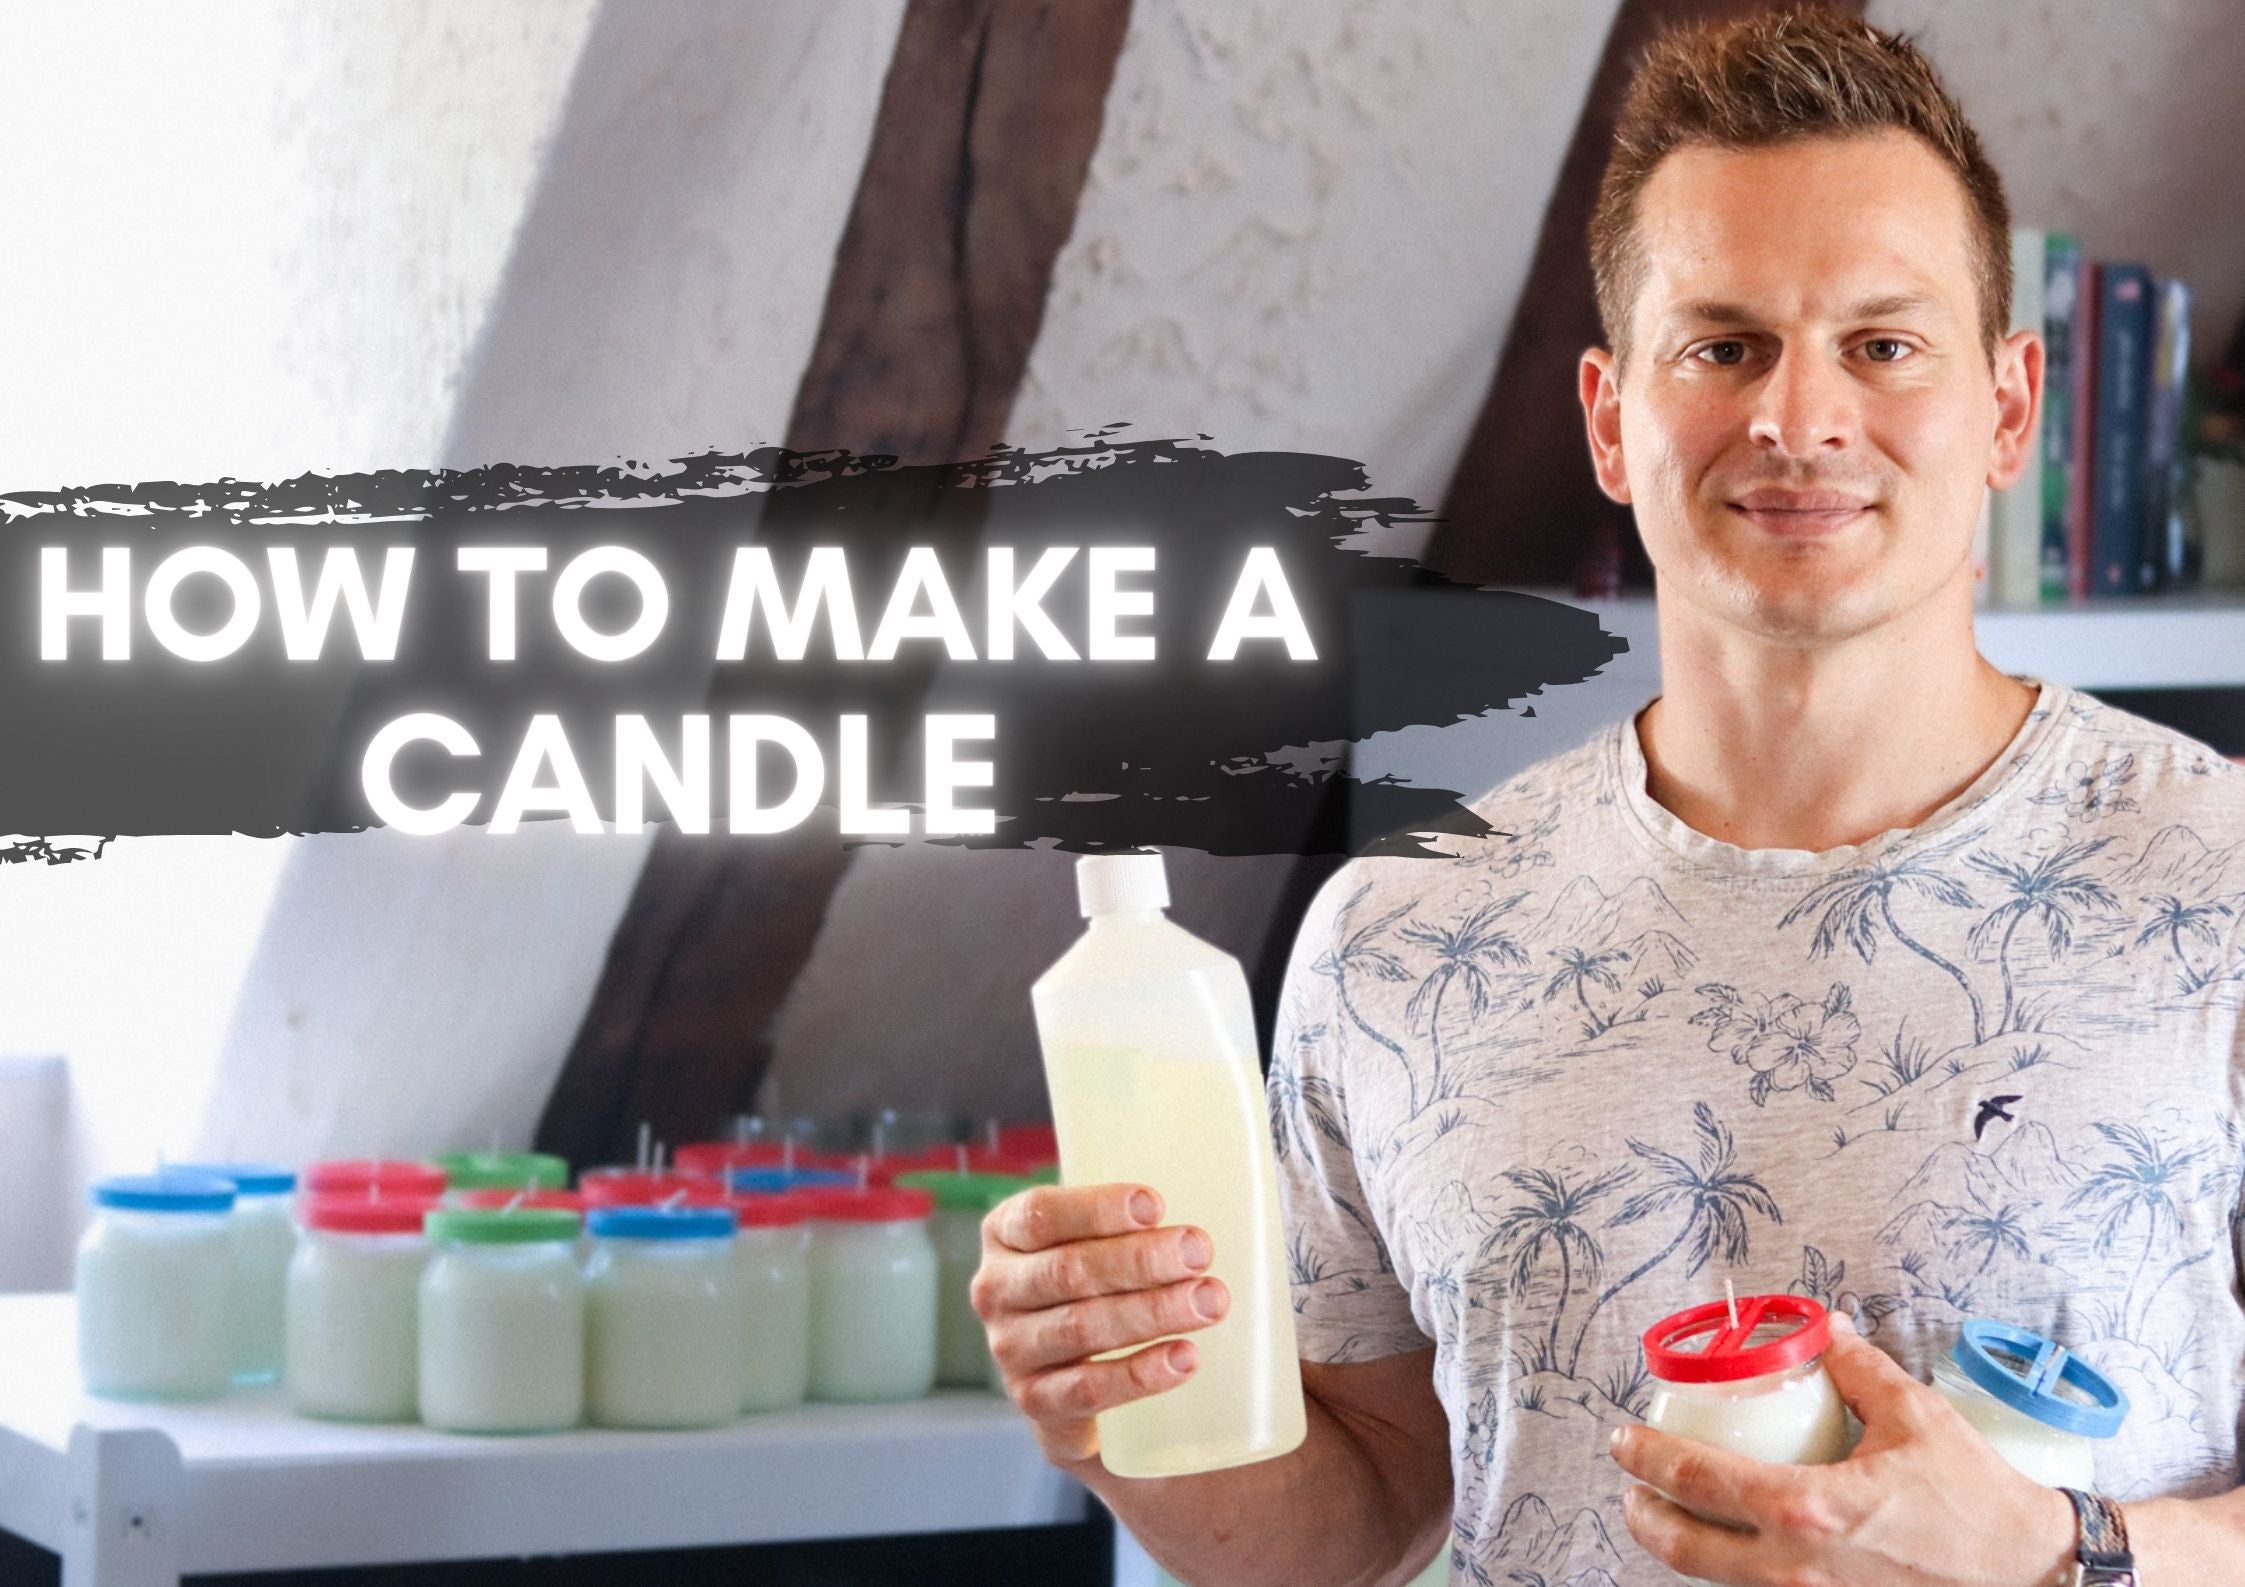
Or you could watch this handy little YouTube video I created, this will help you get started on creating your first ever candle!
Step 1: Gathering the supplies

To make candles, you will need certain raw materials and tools. Fortunately, most of these can be found in any craft or hobby shop, but if you need better quality materials or some special colouring or essential oils, there are many online shops specializing in candle making.
You'll need the following materials and tools to make your first handmade candle:
- Wax
- Candle holder vessel
- Wick
- Glue for the wick
- Colouring (optional)
- Essential oil or fragrances oil (optional)
- Double boiler for melting the wax
- Scale
- Knife or file (if you buy the wax in blocks, these will be used to chop it into smaller pieces)
- Spoon for mixing the melted wax (silicone or plastic, as the wax can get stuck in the wooden ones)
- Scissors to cut the wick to size
- Wick centering device (or two chopsticks and a clip)
- Heat gun or a powerful blow dryer to smooth the surface of the wax
- Thermometer to measure the temperature of the wax
- Cooling rack for drying the candle
Some things to consider when choosing ingredients
There are now countless types of wax, dozens of essential oils and countless amounts of wicks available, so it can be relatively difficult to find your way around as a beginner. If you want to simplify things, there are two main categories of raw materials available: natural and artificial.
Probably one of the best things about making candles at home is that, unlike their counterparts in the shops, our candles at home can be truly 100% natural. But of course, this may not be an important consideration for us, but we may simply want to make a good quality candle with a special fragrance. Whatever we choose, it's important to follow the manufacturers' recommendations here too. In the case of web shops, most product descriptions will state which other materials are recommended to be used with them. And if you want to buy in person, the retailer can help you.
It's a good idea to choose wax first, as it has the greatest impact on the appearance and function of the finished product. Once this cornerstone has been chosen, it is then a matter of choosing the other ingredients to work well with the wax of your choice.
My personal wax recommendation - CB ECOSOYA ADVANCED
After testing loads of different waxes from C6, C3, Coconut blends, Soy Blends... CB Ecosoya advanced has been the best, if you follow the guidelines properly you'll get perfect candles each time, it's almost too easy with this wax. Previously I struggled with frosting, smooth tops, all of the common candle makers frustrations, but CB advanced is literally perfect.
It's a little more expensive than most entry level soy waxes but the time saving and problem solving is worth it. Scent load of up 12% and like I said, perfect candles every time. If you're new to candle making, give this wax a go, you won't be disappointed.
Step 2: Measuring and preparing the wax:

Soy wax can be bought in a variety of packings: if you can get it in small granules or smaller pieces, there's nothing to do. If, on the other hand, you bought the wax in a large block, you will have to chop it up. A large-holed cheese grater is best for this, but if you are careful and diligent, you can also use a knife for this process. This is necessary to ensure that the wax melts as quickly and evenly as possible.
If you want to use a dry dye for the candle, this should also be added to the wax now.
Next, measure the capacity of the container you have and measure out the wax needed to fill it.
Step 3: Melting the wax
This is the most exciting step of candle making, and the one that requires the most precision. Although there are some online sources that claim you can successfully heat wax in the microwave, we do not recommend it due to the high risk. Instead, we recommend to you to use the slower but more accurate and safer double boiler solution.
If soy wax is used, the solids will become liquid between about 113-127 ℉ (45-53 ℃). For melting, use a low setting on your stove and keep checking the temperature.
You'll want to heat the wax up to about 70°C or 158°F - Just to make sure it's fully melted and expanded.

Be careful to stir the wax throughout the melting process, as if you don't, it will not heat evenly and in extreme cases may even catch fire! Be careful when stirring, because if you stir too vigorously, you can mix air bubbles into the liquid, which will reduce the quality of the wax.
Step 4: Adding the scent

The best part of making candles at home is that we get to choose the scent of the artwork we make. In order for the fragrances to blend properly in the wax, they need to be added at a temperature well above the melting point. In the case of soy wax, this means heating the raw material to around 140 ℉ (60℃).
Now this maybe a lot lower than most people will tell you, but I believe adding the fragrance oil and especially essential oil at a lower temperate gives you a stronger hot throw. This is because you're not adding the fragrance to really hot wax and burning off the scent.
With a proper setup, this should take no more than 10-15 minutes.
When adding fragrance, make sure that only the amount recommended by the manufacturer is added to the wax. Adding more than the required amount may result in a yellowish discolouration at the bottom of the candle.
If you want to use liquid colouring to give your candle a more exotic look, this should also be added at this stage.
In this case you should also remember to stir continuously but carefully, otherwise the fragrance will form small "bubbles" in the solidified candle.
Step 5: Gluing and centring the wick

It is important to attach the selected wick to the centre of the candle holder before pouring the wax. This is necessary to ensure even burning, since if the wick is closer to one side of the pot than the other, it is possible that only one side of the wax will melt.
Once you have found the centre of the pot, it is important to firmly stick the wick there. For this purpose, we can use glue dots specially marketed for this purpose, or any other glue with a high melting temperature. The key word here is high heat resistance, as it must withstand the heat released during the burning of the candle. If you use an inappropriate adhesive (such as super glue), the adhesive may release during combustion, resulting in a fire hazard.
Step 6: Securing the wick

Once the wick has been firmly and permanently attached to the bottom of the pot, we must make sure that it runs the entire length of the candle in the centre of the wax. Again, this is important for even and safe burning, since when pouring the melted wax, the wick can easily move in one direction if it is not fixed at the top of the pot as well.
For this, we can use the wick centring device sold specifically for this purpose or simply two pencils. If you decide on the "DIY" solution, tie the two pencils together at each end so that the end of the wick is caught between them, so it will not be able to move during the pouring.
Step 7: Pouring the wax

The wax needs to cool down a bit before pouring, so wait until it reaches a temperature of around 120-140℉ (45 - 52℃), and of course, don't forget to stir constantly during this time.
Pouring the wax is by no means safe, as we are talking about a very hot molten material, so be especially careful during this work process.
The pouring is done relatively quickly, but carefully, so that larger air bubbles do not enter the raw material that has been carefully mixed until now.
Step 8: Drying and curing

For drying, choose a place where the temperature is relatively uniform and our candle is not exposed to large temperature fluctuations. If possible, place the freshly poured candles on a cooling rack so that they can cool evenly from the bottom as well.
In the case of candles made of soy wax, if the material does not cool down evenly or slowly enough, the so-called frosting can occur, which, although does not affect the burning quality, can deteriorate the appearance of the candle.
The wax itself solidifies in a few hours, but natural waxes harden after that, so it's a good idea not to use the candle right away, but to let it cure for a couple of weeks.
Step 9: Cutting the wick

If the candle flame goes out frequently, it may be a sign that the wick is too long so that the heat generated by the flame does not reach the wax. However, if you find that the wick is "drowning" in the melted wax, you have cut it too short. Since it is easier to cut the wick than to make it longer, always cut it shorter in small steps.
Step 10: Finishing touches

If we have reached this point, there are really only a few finishing steps left, which do not affect the burning of the candle, but only make it look even more beautiful.
If the surface of the wax is not smooth, but rough, it can be easily remedied: in this case, our task is to melt the top layer of the wax with the help of a heat gun or a stronger hair dryer so that it can spread out and dry to a smooth surface.
If we are done with this, all that remains is the external decoration of the candle holder, here really only our imagination can limit the possibilities, but we must be careful not to let any combustible material hang over the candle flame.
Making candles at home can be great fun and a really interesting DIY project. Since the hobby is experiencing a real renaissance these days, the storehouse of information and raw materials available to us is almost completely endless. If we get stuck somewhere, entire forums and internet groups will be at our disposal, not to mention countless blogs, where we will find a solution to every problem that arises during candle making.
If we follow the above steps and are precise, we can't be surprised during the work, but if our first candle doesn't turn out as planned, we shouldn't be discouraged either, because we have to remember that: practice makes perfect .
FAQ: Making Candles at Home
- How do I get started with making candles at home?
- To begin making candles at home, you'll need wax, wicks, fragrance oils (if desired), a melting pot, a thermometer, and molds or containers. Start by researching candle-making techniques and safety precautions.
- What types of wax can I use for homemade candles?
- You can use various types of wax, including soy, paraffin, beeswax, and palm wax. Each type has its characteristics and benefits, so choose based on your preferences and project goals.
- Do I need any special equipment to make candles at home?
- While you can start with basic equipment, such as a double boiler or microwave-safe container for melting wax, investing in a candle-making kit with a thermometer, pouring pot, and wick holders can make the process easier and safer.
- How do I choose the right wick for my candles?
- The size and type of wick you choose depend on the diameter of your candle and the type of wax. Follow wick manufacturer guidelines and conduct burn tests to determine the best wick for your specific candle.
- Can I add scents and colors to my homemade candles?
- Yes, you can add fragrance oils and candle dyes to customize the scent and color of your candles. Be sure to follow recommended fragrance oil percentages and experiment with dye quantities to achieve the desired results.
- What safety precautions should I take when making candles at home?
- Always work in a well-ventilated area, wear appropriate safety gear, like gloves and safety glasses, and be cautious when handling hot wax and open flames. Keep a fire extinguisher and first aid kit handy.
- How can I troubleshoot common candle-making issues, such as tunneling or frosting?
- Research common candle-making problems and their solutions. Tunneling, for example, can be addressed by using the right wick size, while frosting is often a natural occurrence in soy wax candles and doesn't affect performance.
- Can I reuse old candle wax for new candles?
- Yes, you can recycle old candle wax by melting it down and using it to create new candles. Be sure to remove any debris or wick remnants from the old wax before melting and repurposing it.
- How can I store homemade candles properly?
- Store your homemade candles in a cool, dry place away from direct sunlight, extreme temperatures, and drafts. Keep them covered to prevent dust and debris from settling on the surface.
Lavender-Scented Soy Wax Candle Recipe


