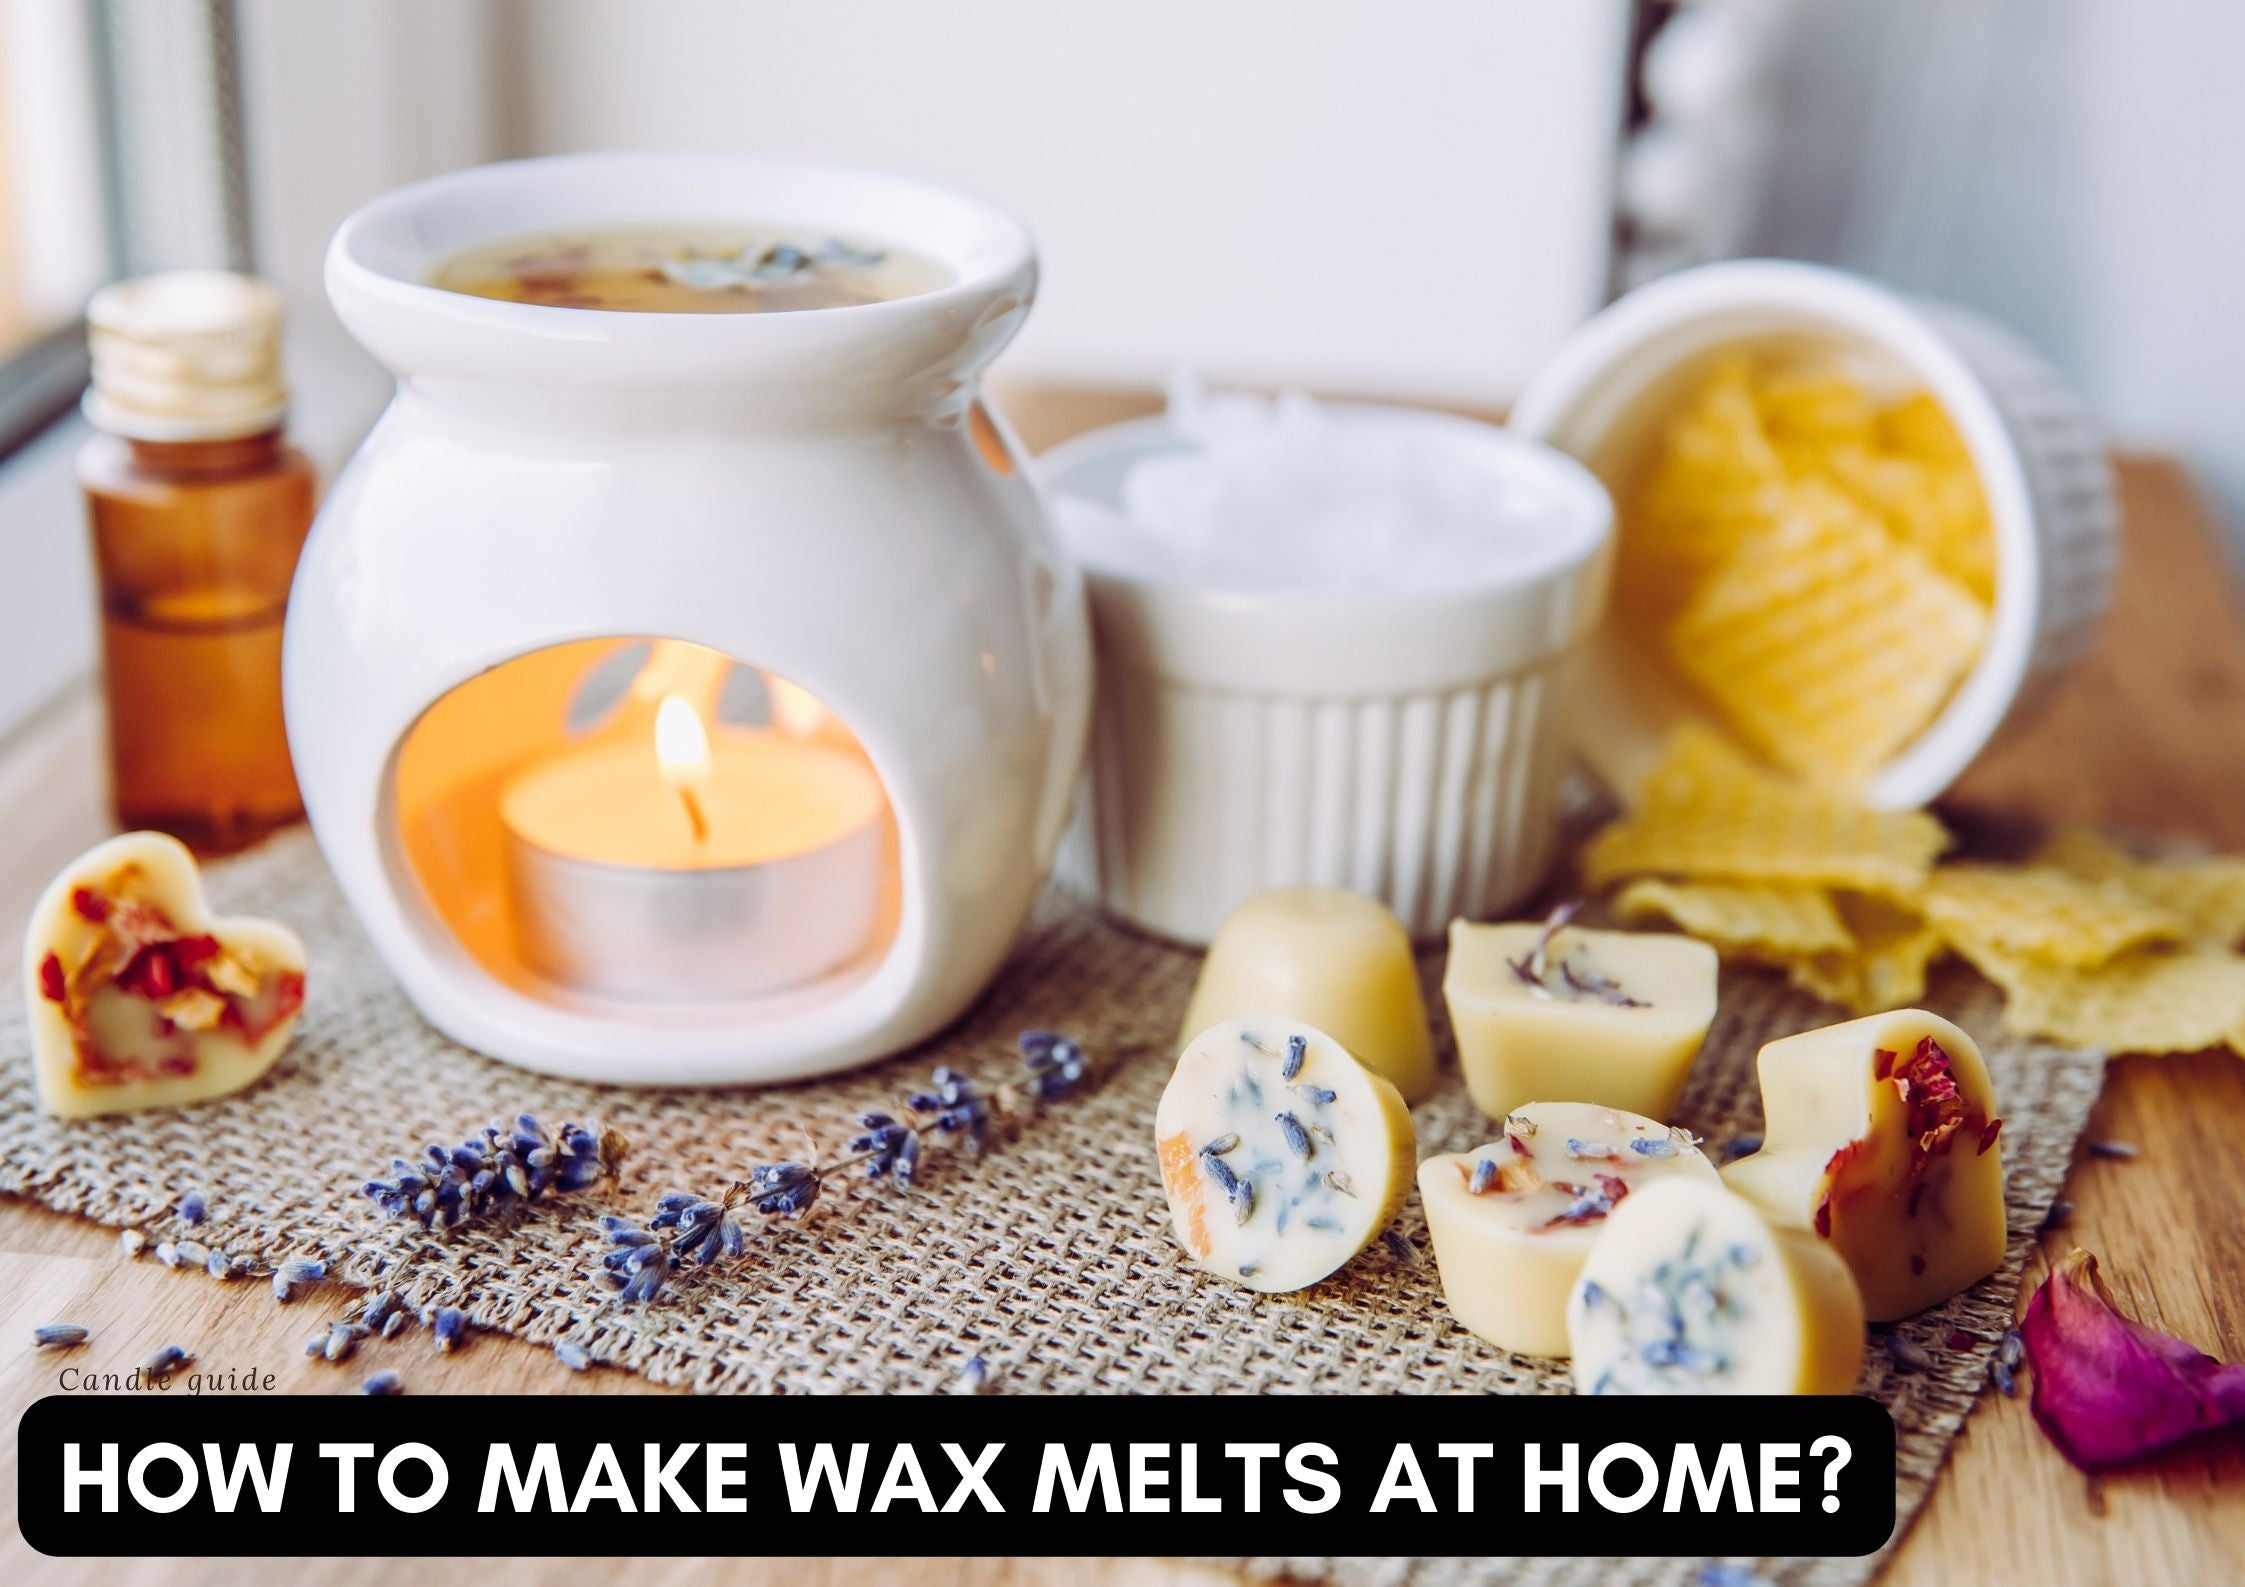
How to make wax melts at home?
Oct 20 , 2022
Aromatherapy has been enjoying a virtually continuous renaissance in recent years. Hundreds of scented candles and fragrances can be bought and it is also becoming an increasingly popular craft hobby.
Wax melts are not yet as widely known as reed diffusers, for example, but many people are nevertheless enjoying the benefits of these fragrant elements of deodorisation.
If you like to craft but find candle making too complicated, a set of wax melts can be an excellent stepping stone.
What are wax melts?

Wax melts are essentially candles without flame, which are melted by some indirect heat, releasing their fragrance.
Whether you use candles or wax melts is practically entirely down to personal preference. Some people find the light of a flickering candle flame just as soothing as the finest relaxing fragrance. Such people will of course choose candles, but if for some reason you have to refrain from an open flame (for example, if you live in a dormitory), a wax melt can be an excellent alternative.
A wax melt can be just as beautiful and special a gift as a beautifully decorated scented candle, and it's much easier to make, so it's a great first DIY project.
If you're thinking of making a wax melt, you don't have to worry about placing and securing the wick, and you don't have to be aware that the wax might not melt evenly for some reason.
Let's take a look at some simple steps on how to make beautiful and wonderfully scented wax melts at home!
What kind of wax can we use?

Just as with candles, it is also important to choose the right type of wax for melts.
It's a little trickier here, as you also need to think about how easily the wax will separate from the mould. Experienced wax melters refer to this property as mould release, and it refers to how difficult the solidified wax will be to separate from the mould.
This is a much more important property than you might first think, as the wax melt will not only have to be removed from the original mould, but also from the storage vessel of the equipment used to heat it.
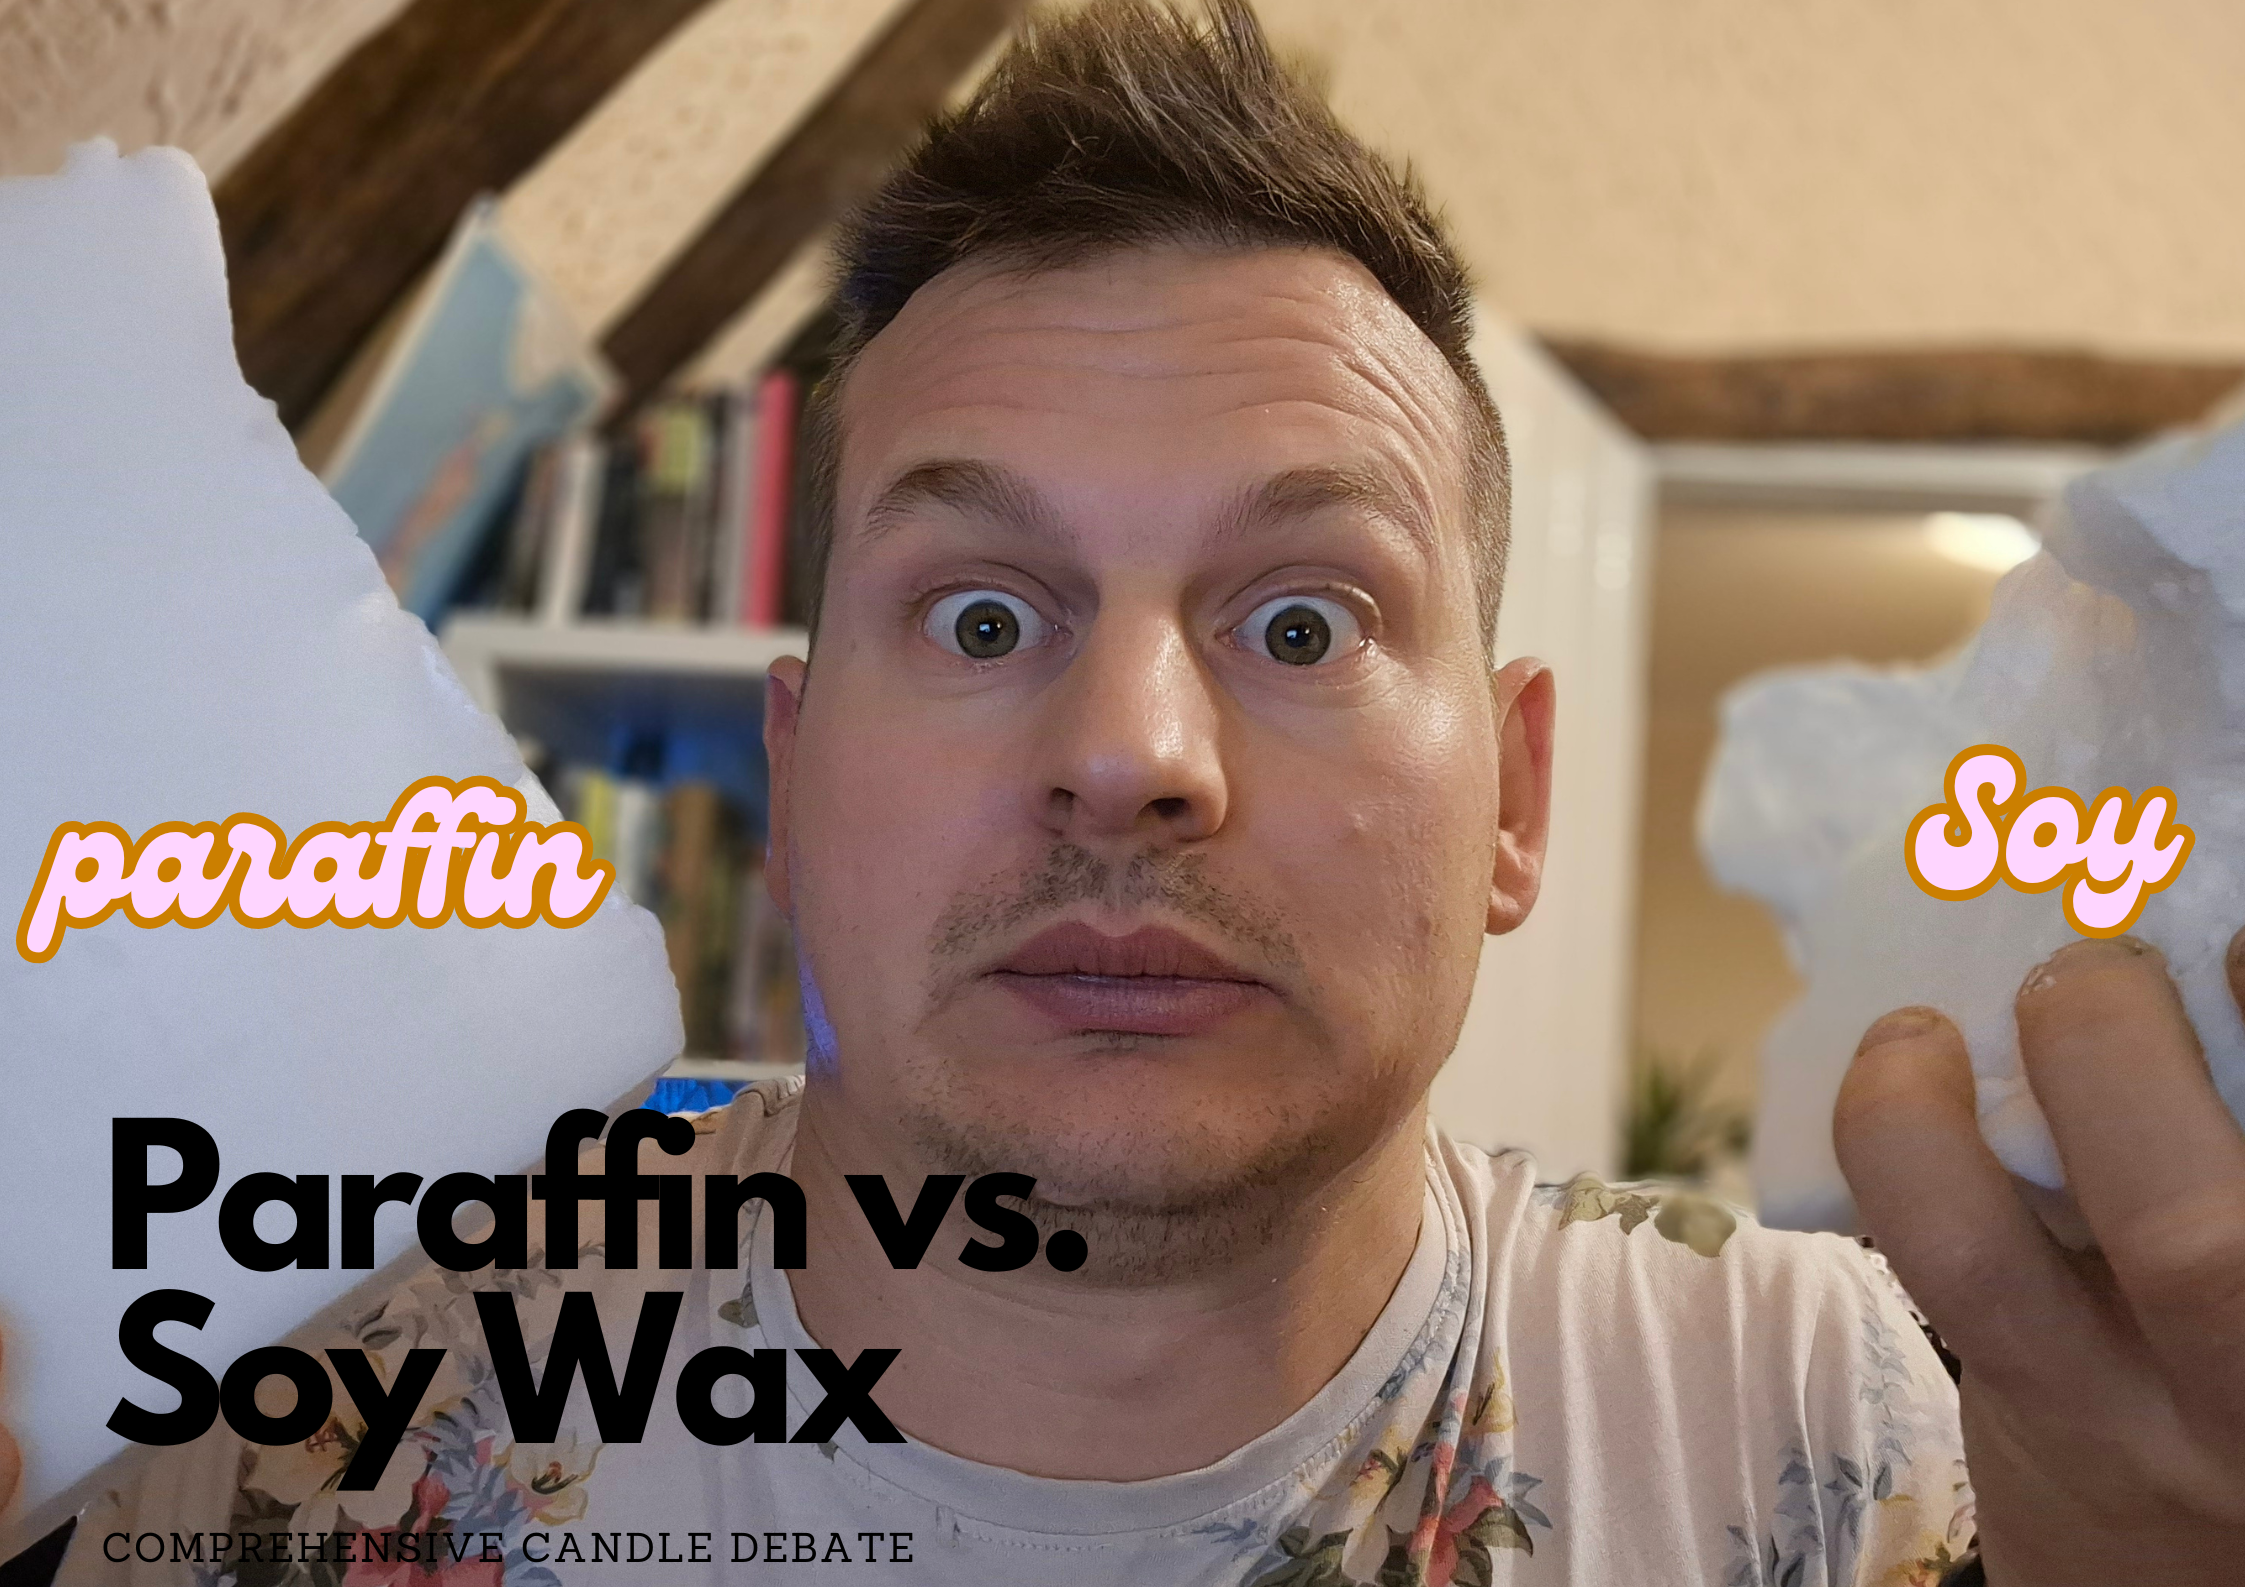
Most melts are made from paraffin wax or its excellent natural alternative: soy wax, as these waxes have relatively good mould release properties.
As it is an aromatherapy device, the so-called scent throw is also very important. Classically, paraffin wax is the best material for this purpose, but if you want to use a natural and renewable material, soy will be the best choice.
Other ingredients to mix into the melt

For candles, choosing the right wick is a big task, but for melts you don't have to worry about this, but you can choose other ingredients to mix into the wax before you start.
One of the great attractions of wax melts is that you can easily colour the raw material used. You don't need any special colouring agents, just mix crayons into the wax before melting. This may not work for candles, as the tiny particles in the crayon can "clog" the wick, leading to frequent extinguishing of the candle.
If you want to make your creation even more special, you can also add glitter to the mixture.
Perhaps more important than dyes and glitters is the fragrance. This can be natural essential oil or artificial fragrances oil. Both have their advantages and disadvantages. Essential oils are 100% natural and therefore less likely to cause irritation, but fragrance oils have the advantage of being more exotic and diverse, not to mention cheaper in most cases.
It's also worth considering the space you want to use the melt in, as essential oils are much less concentrated and will have a harder time scenting large rooms than fragrance oils.
Materials and tools needed

If you've already poured a candle at home, you have pretty much all the tools you need, apart from the moulds used for the melts. Here is the full list of ingredients and tools you will need:
-
Wax
-
Fragrances oil or essential oil
-
Dye (optional)
-
Heat-proof mould
-
Thermometer
-
Double boiler to melt the wax
-
Spatula to stir the molten wax
As you'll be working with hot liquids, it's a good idea to tidy up your work surface and arm yourself with a pair of kitchen gloves.
Making the melts

Once you've gathered the materials you need, all you need to do is get started, if you've already made a candle you'll find most of the steps familiar, and if this is your first time with melted wax, pay particular attention to safety!
Step 1: preparing the wax
If you have bought wax that comes in a large block, you will need to cut it into smaller pieces so that it melts evenly. The quickest and easiest way to do this is to use a knife and slice it. Generally speaking most wax for wax melts comes in flake form or pellets.
Here are some wax brands I recommend for making wax melts:
-
EcoSoya®:
- EcoSoya is renowned for its clean-burning soy waxes that hold fragrances exceptionally well. They offer a range of soy waxes, making them a trusted choice among candle and wax melt makers.
-
- Golden Brands produces soy waxes such as the 494 is perfect for wax melts.
- Perfect for creating smooth, shiny and frost-free melts
- Excellent scent throw, mould release and holds strong vibrant colours
- No animal products are used and no animal testing
- Not recommend for candles
-
- Cargill NatureWax offers eco-friendly soy-based waxes that are well-suited for wax melts. These waxes are known for their ability to effectively hold fragrances and provide clean burns.
You will need to buy wax specifically for wax melts or at least check the wax works for your intended purpose as there's so many to choose from it's best to do some research and follow manufacturing guidelines, some wax melt waxes will have better properties for things such as mold release. Below are the general characteristics for wax melts compared to container candles.
Wax for Wax Melts:
- Higher melting point.
- High fragrance load for rapid scent release.
- Harder texture for shape retention.
- Used with warmers.
Wax for Container Candles:
- Lower melting point.
- Lower fragrance load for gradual scent release.
- Softer texture for container adhesion.
- Burned inside containers.
Step 2: melting the wax
The most difficult task, and the one that requires the most precision, is melting the wax. Use a double boiler for this, as it is the safest and most precise solution.
With continuous stirring, most waxes will turn to a liquid in 5-10 minutes. For soy wax, the material becomes liquid at 113-127 ℉ (45-53 ℃).
What we are looking for is getting the wax to 185℉ as this is the correct temperate for the wax to absorb the fragrance molecules effectively (science ;) haha)
Step 3: adding the scent
Before we get into the right temperatures to add the scent let's check out some great scent combinations, these are tried and tested and I recommend sticking to what works in the beginning then experimenting with other combinations!

Top 5 Common Wax Melt Fragrances and Combinations
1. Lavender & Vanilla:
- Lavender for relaxation and vanilla for a sweet touch.
2. Citrus & Mint:
- Uplifting citrus paired with zesty mint for a refreshing blend.
3. Eucalyptus & Peppermint:
- Fresh eucalyptus and invigorating peppermint for a revitalizing aroma.
4. Coconut & Mango:
- Exotic coconut mixed with fruity mango for a tropical paradise.
5. Coffee & Hazelnut:
- Rich coffee combined with comforting hazelnut for a cozy café-inspired fragrance.
These top 5 combinations offer a variety of scents to suit different moods and preferences, allowing you to create a delightful atmosphere in your home.
Let's crack on with the rest of the guide!
In order for the fragrances to blend properly in the wax, they need to be added at a temperature well above the melting point. In the case of soy wax, this means heating the raw material to around 180-185 ℉ (82-85℃).
Be careful not to add more fragrance to the mixture than the manufacturer recommends. If too many oils are added to the wax, they will not mix well and the essential oil may precipitate out of the wax.
This is when you need to add the liquid colours and other decorative elements to the melted wax.
Step 4: pouring the wax
Cool the wax to about 120-140℉ (71-82℃) while stirring thoroughly but gently, being careful not to mix in extra bubbles, as these will degrade the quality of the melt.
Before pouring, make sure the mould you are going to use is completely clean and dry. If there are damp spots inside, the wax will not be able to adhere to it and the finished melts will have air bubbles on the surface.
Almost any heat-resistant mould will do for this purpose. It is probably easiest to use silicone moulds for baking, as they are much easier to remove the solidified wax melts from. When choosing a mould, make sure that it is not too complex and does not have too thin parts, as these can easily break off the solid wax when trying to remove it from the mould. For this reason, for example, if a Christmas theme is chosen, a pattern of a Christmas tree will be more appropriate than a candy cane or detailed reindeer.
Step 5: letting the wax dry and removing it from the mould
Soy wax hardens after a few hours, but then (like other natural waxes) it hardens even further. For candles, it is also recommended to let the wax cure for a few days or even weeks to obtain a product with the best characteristics.
Once the wax has sufficiently hardened, we can very carefully start removing the finished pieces.
If a very complex piece should break, a heat gun or hair dryer can be used to gently melt the wax back along the break so that the two pieces stick together, but in most cases this is not worthwhile as it may cause further damage.
Step 6: finishing touches and storing

You can remove the casting line from the finished pieces to get an even more perfect finish, and then all you have to do is enjoy the fruits of your labour.
If making a larger batch, store in an airtight container out of direct sunlight. If you are making a wax melt as a gift, remember to inform the recipient of the gift about proper storage!
As we've seen, making wax melts is not difficult and doesn't require a lot of materials, the only difficult part is melting and pouring the wax, but if you're careful and precise this shouldn't be a problem either.
Wax melt can also be a good solution if you have melted a little more wax than you need when pouring a candle, so you don't have to pour out the leftover wax or re-melt it later when making a candle. As with any DIY project, it's important to let your imagination run wild and make something that's not only beautiful, but also useful.
FAQ: How to Make Wax Melts at Home
- What are wax melts, and how are they different from candles?
- Wax melts are small pieces of scented wax that are melted to release fragrance without a wick. Unlike candles, they don't have a flame and are typically used with a wax melt warmer.
- What materials do I need to make wax melts at home?
- You will need wax (such as soy or paraffin), fragrance oil or essential oil, color dye (optional), a wax melt mold or ice cube tray, and a heat source for melting the wax.
- How do I choose the right wax for making wax melts?
- The choice of wax depends on personal preference. Soy wax is popular for its natural and clean-burning properties, while paraffin wax is known for its strong scent throw. Experiment to find the one you like best.
- Can I use essential oils for fragrance in my wax melts?
- Yes, you can use essential oils for fragrance. However, be cautious with the amount, as essential oils can be potent. Always use oils that are safe for skin contact or candle making.
- How do I add color to my wax melts?
- You can use candle dye chips or liquid candle dyes to add color to your wax melts. Start with a small amount and adjust to achieve the desired color.
- What is the recommended fragrance-to-wax ratio?
- The ideal fragrance-to-wax ratio is typically around 1 oz (28 grams) of fragrance oil per 1 lb (450 grams) of wax. Adjust this ratio based on your preferences for scent intensity.
- Can I melt the wax on a stovetop or in a microwave?
- Yes, you can melt the wax using a double boiler on the stovetop or in a microwave-safe container in the microwave. Be cautious and monitor the wax closely to avoid overheating.
- How do I pour the melted wax into molds?
- Carefully pour the melted wax into your chosen molds. Silicone molds or ice cube trays work well. Ensure the wax is cooled and solidified before removing the melts.
- How long should I wait before using my homemade wax melts?
- Allow your wax melts to cool and harden for at least a few hours or overnight before using them. This ensures they have fully solidified.
- How do I use wax melts with a wax melt warmer? - Place one or more wax melts in the warmer's dish or tray. Turn on the warmer, and as the wax melts, it will release the fragrance. Ensure the warmer is used on a flat, heat-resistant surface.
- Can I customize my wax melts with different scents and colors? - Absolutely! Experiment with various fragrance combinations and colors to create unique and personalized wax melts to suit your preferences and mood.
- Are there any safety precautions to keep in mind when making wax melts? - Yes, practice caution when working with hot wax and fragrance oils. Follow safety guidelines, such as using appropriate containers, keeping an eye on the melting wax, and working in a well-ventilated area.
Creating homemade wax melts can be a fun and rewarding DIY project. Experiment with different fragrances, colors, and molds to make custom wax melts that fill your home with delightful scents.