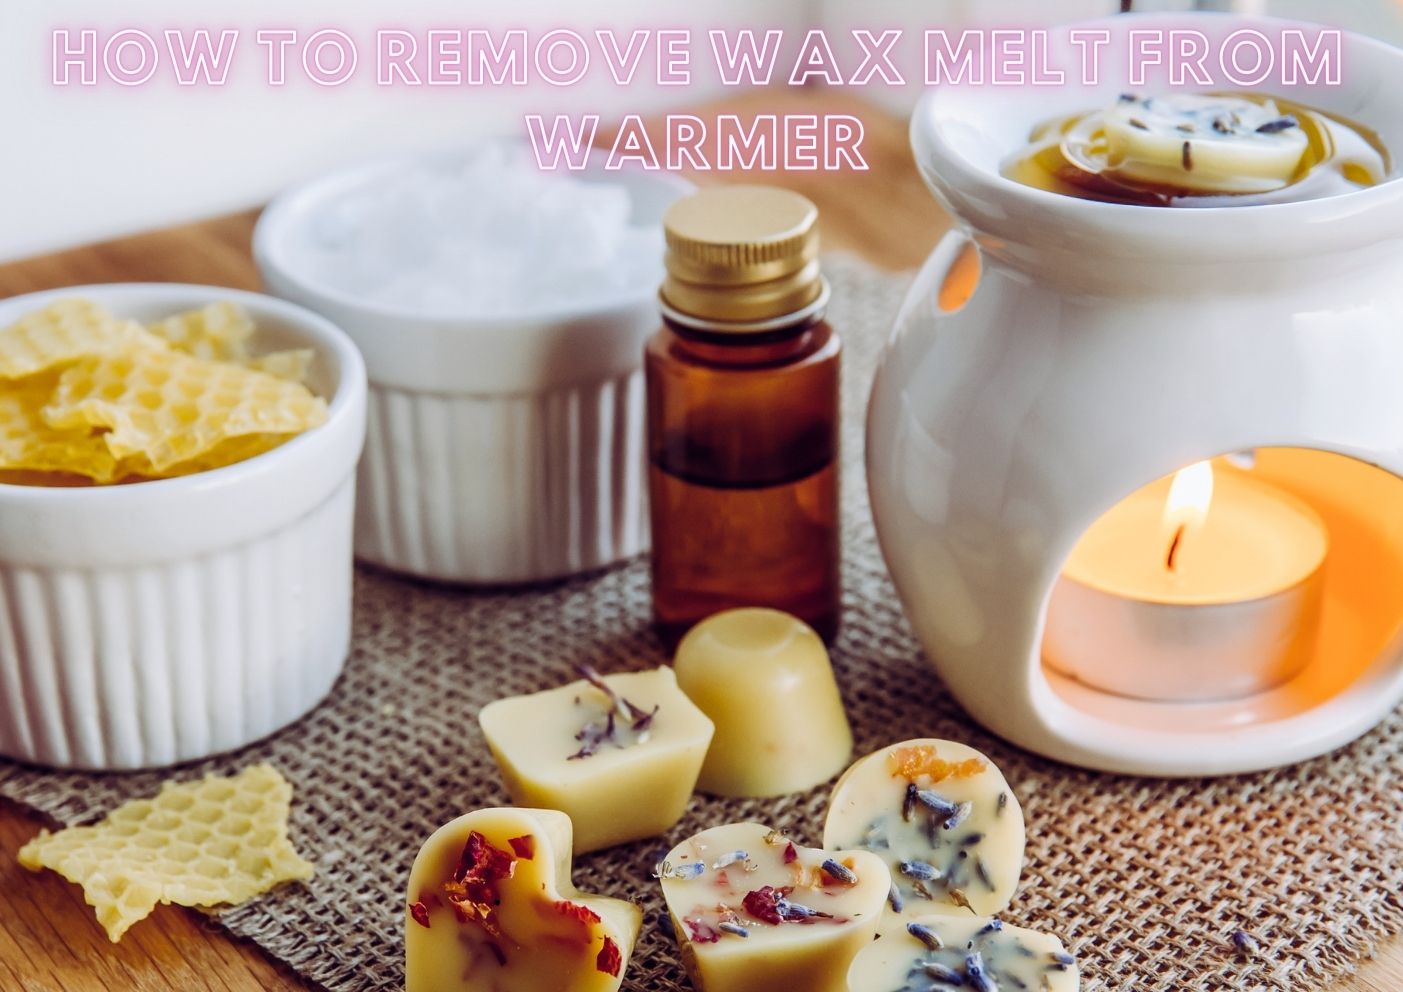
How to remove wax melt from warmer
Feb 24 , 2024
Are you struggling with the task of removing hardened wax from your warmer? Wax melts are great for adding fragrance to our homes but can be a pain when it's time to take them out.
Our guide is packed with simple techniques that will make cleaning your wax melter quick and effortless, ensuring it stays in perfect condition. Keep reading to master the art of wax melt removal!
Key Takeaways - how to remove wax melt from warmer
- Allowing wax to cool and harden in your warmer makes it easier to remove using a spoon or knife without causing any mess.
- Cotton wool pads can be effective for absorbing melted wax, allowing for an easy clean - up process.
- Ice cubes help harden the wax quickly so it can be lifted out cleanly, making maintenance simpler and more efficient.
- Wax warmer liners and silicone dish tops are practical tools that provide hassle-free ways to deal with hardened wax without scratching your warmer's surface.
- Options like silicone dish tops can be reused multiple times for an environmentally friendly way of keeping your wax warmer clean.
Traditional Methods for Removing Wax Melts
Letting the wax cool and solidify before scraping it with a spoon or knife is a common method for cleaning out a wax warmer. Another traditional approach involves using cotton wool pads to soak up the melted wax.
Letting the wax cool and solidify
To remove wax from a warmer, patience is key. Allow the melted wax to cool down completely and harden in the dish. This step is crucial for a smooth removal process as it prevents any messy spills or burns from handling hot liquid.
Once solidified, use a blunt knife or spoon to carefully prise the wax out in one piece. This method ensures that you can clean your wax melter without leaving behind any residue.
If you find the hardened wax stubborn, briefly warm up your candle warmer again. A slight increase in temperature will loosen the edges of the solidified wax, making it easier to slide off with just a little nudge.
Make sure not to overheat; otherwise, you'll end up back at square one with melted wax! By adopting this technique, maintaining and cleaning your wax burner becomes hassle-free and efficient, keeping it ready for its next use without old scent residues interfering with new fragrances.
Scrape with a spoon or knife
Use a spoon to scrape off the solidified wax from the warmer dish. Gently apply pressure and slide the edge of the spoon beneath the wax until it begins to loosen. Carefully lift and remove the hardened wax, ensuring not to scratch or damage the dish surface in the process.
A butter knife can also be used to carefully chip away at any remaining residue. Positioning the blade parallel to the dish, gradually work around its edges, lifting and removing any leftover wax remnants.
Be cautious not to use excessive force that may cause harm to the warmer's surface.
Use of cotton wool pads
To remove wax from a warmer, another method is to use cotton wool pads. While the wax is still in liquid form, placing a cotton wool pad into the burner and allowing the wax melt to soak into the pad can help in removing the wax.
Once absorbed, simply discard the used cotton wool pad and replace it with a new one if needed. This method offers an easy and effective way to clean out any remaining wax residue from your warmer without any hassle or mess.
Another effective means of clearing out residual melted was can also be through melting candle wax onto tea light warmers using solvents such as acetone, alcohol or hand sanitiser up until you find significant improvement on how beautiful your holder looks like before making another purchase for a similar ready-made melter plate.
Alternative Method for Removing Wax Melts
You can also try using ice cubes to harden the wax and make it easier to remove, or invest in wax warmer liners or wax poppers for quick and easy cleanup. Another alternative method is using silicone dish tops that can be easily popped off to remove the hardened wax.
Use of ice cubes
Place an ice cube on top of the hardened wax in the warmer. Let it sit for a few minutes to solidify the wax. Once the wax has hardened, use a blunt knife or spoon to gently lift and remove the solidified wax from the warmer dish.
This method helps in making the removal process cleaner and easier.
The cold temperature from the ice cube causes the wax to contract, making it simpler to detach from the surface of the warmer dish without leaving any residue behind. Using this technique can effectively aid in maintaining your wax warmer and keeping it clean for future use.
Wax warmer liners or wax poppers
Transitioning from using ice cubes to an alternative method, wax warmer liners or wax poppers serve as convenient solutions for removing wax melts. These liners are specifically designed to fit into the dish of the wax warmer, making clean-up a breeze.
Once the used wax solidifies and cools down, you can simply lift out the liner and discard it along with the hardened wax residue. Similarly, wax poppers also provide a mess-free removal process by allowing you to easily pop out the hardened wax once it has cooled.
To enhance your cleaning routine, these options offer a hassle-free way to maintain your wax warmer without scraping or chiselling away at stubborn remnants of melted wax. This approach not only simplifies maintenance but also streamlines refilling your warmer with new melts promptly.
Silicone dish tops
Silicone dish tops are a convenient solution for removing wax from warmers. Placing a silicone dish top in the freezer with the hardened wax allows it to shrink and easily come off without leaving any residue or scratch marks on the warmer surfaces.
By using this method, you can effortlessly maintain your wax warmer and avoid the hassle of cleaning stubborn wax spills.
Additionally, silicone dish tops provide an eco-friendly alternative as they can be reused multiple times, reducing waste and contributing to sustainable living practices. This simple yet effective tool helps in keeping your wax warmer clean and ready for your next delightful fragrance experience.
Conclusion
In conclusion, removing wax melts from a warmer can be done using traditional or alternative methods. Letting the wax cool and solidify is an effective way to make it easier to remove.
Scraping with a spoon or knife helps in getting rid of hardened wax. Using ice cubes or wax poppers offers an alternative approach for cleaning the warmer. Silicone dish tops also provide an easy solution for dealing with wax residue.
FAQs
1. What's the right way to remove wax melt from a warmer?
To remove wax from your warmer, let it cool slightly but while it's still soft, gently scoop it out or pour it into the bin.
2. Can I clean my wax melter after removing used wax melts?
Yes! Once you've removed the used wax melts, use a paper towel or cloth to wipe down your warmer for regular cleaning and maintenance.
3. How do I take care of hard-to-remove wax in my burner?
For removing hardened wax from your warmer, reheat the leftover remnants until they soften and then carefully scoop them away.
4. Are there any hacks for cleaning a messy spillage in my wax melter?
Absolutely! If you experience a messy spillage, place a ribbon of cotton wool or tissue into the liquidised warm—not hot—wax. Allow it to absorb some liquid before removal for an easier clean-up!
5. After taking out old melted residue what should be my next steps in caring for my burner?
Once you’ve gotten rid of all the old melted residue using appropriate methods like melting or scooping cold residue, give your burner thorough cleaning with mild soap and water as part of good maintenance practice.